Table of Contents
Ever dream of a breakfast that screams "comfort" and "delicious" all at once? Well, you're in the right place! We're about to embark on a journey to create the perfect classic pancake recipe with vanilla extract. This isn't just any pancake recipe; it's the kind that brings back memories of cozy mornings and family gatherings. I found this recipe on a very old recipe card, stained with years of happy breakfasts. It's simple enough for beginners, yet satisfying enough for seasoned cooks. We'll walk through each step, from gathering your ingredients to flipping those golden brown beauties. You'll learn how to mix the batter just right, cook them to perfection, and even store them for later. And because we all love options, we'll also touch on some fun additions to make your pancakes even more special. Get ready to make some magic in your kitchen, with a classic pancake recipe with vanilla extract that is bound to become a new favorite. So, grab your apron, and let’s get cooking!
Gathering Your Ingredients
Gathering Your Ingredients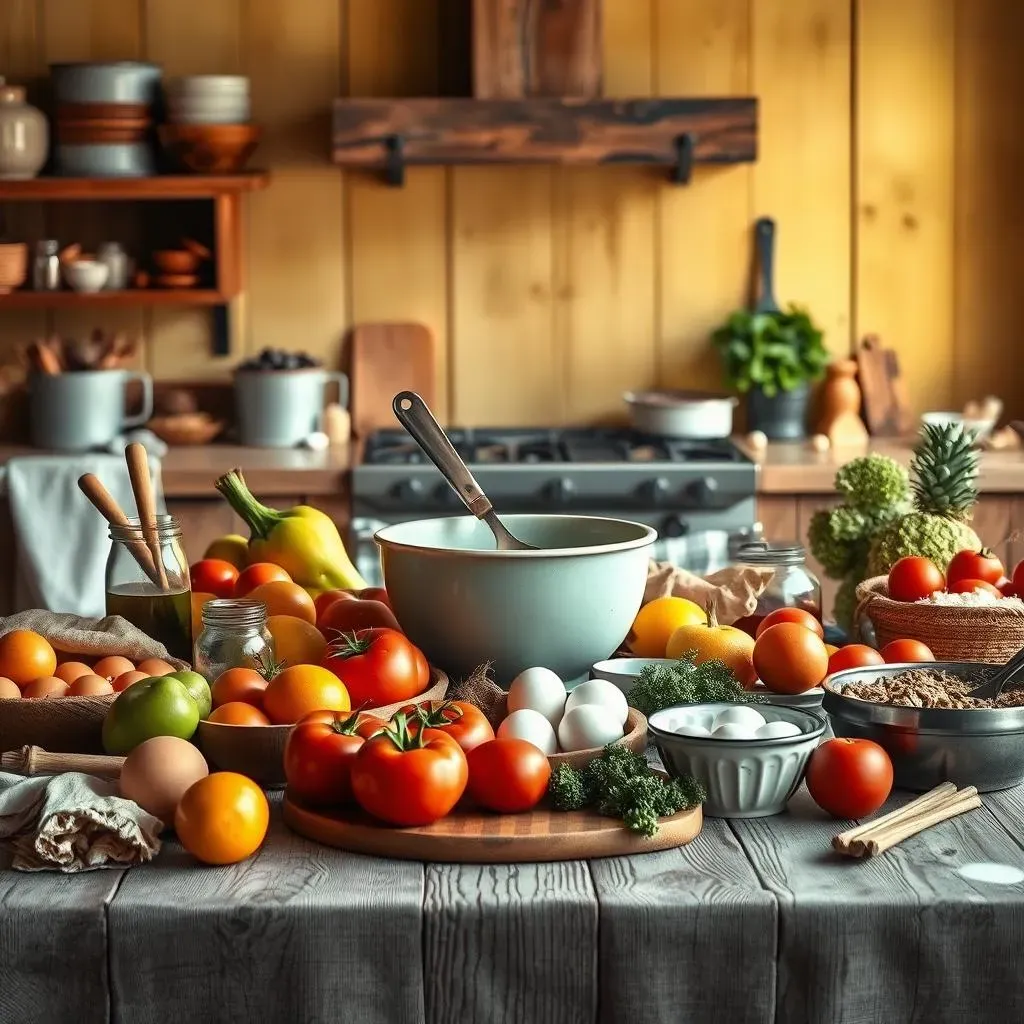
Okay, so first things first, let's talk about what you'll need for these amazing pancakes. It's not some crazy science experiment, I promise! We're keeping it simple with ingredients you probably already have. Think of it like gathering your trusty sidekicks for an epic breakfast adventure. You'll need 1 ½ cups of all-purpose flour – that's the base of our fluffy creation. Then, grab 3 ½ teaspoons of baking powder; this is what gives our pancakes their lift and airy texture. Don't forget 1 tablespoon of white sugar for a touch of sweetness, and a ¼ teaspoon of salt, which is there to enhance all the other flavors, it is super important.
Next up, the wet ingredients: 1 ¼ cups of milk – any kind works, so use your favorite! A splash of melted butter, about 2 tablespoons, adds richness and a lovely golden crust. Oh, and one whole egg, which helps bind everything together. And, of course, the star of our show, 2 teaspoons of vanilla extract. This is where the magic happens, bringing that warm, comforting aroma and flavor. If you are looking for a simpler version, check out this easy classic pancake recipe for kids, it uses similar ingredients but fewer steps. Make sure everything is ready to go before we start mixing, it makes the whole process so much smoother.
Ingredient | Amount |
|---|---|
All-Purpose Flour | 1 ½ cups |
Baking Powder | 3 ½ teaspoons |
White Sugar | 1 tablespoon |
Salt | ¼ teaspoon |
Milk | 1 ¼ cups |
Melted Butter | 2 tablespoons |
Egg | 1 whole |
Vanilla Extract | 2 teaspoons |
"The secret ingredient is always love... but a good dose of vanilla doesn't hurt either!" - Some wise chef, probably
Mixing the Batter
Mixing the Batter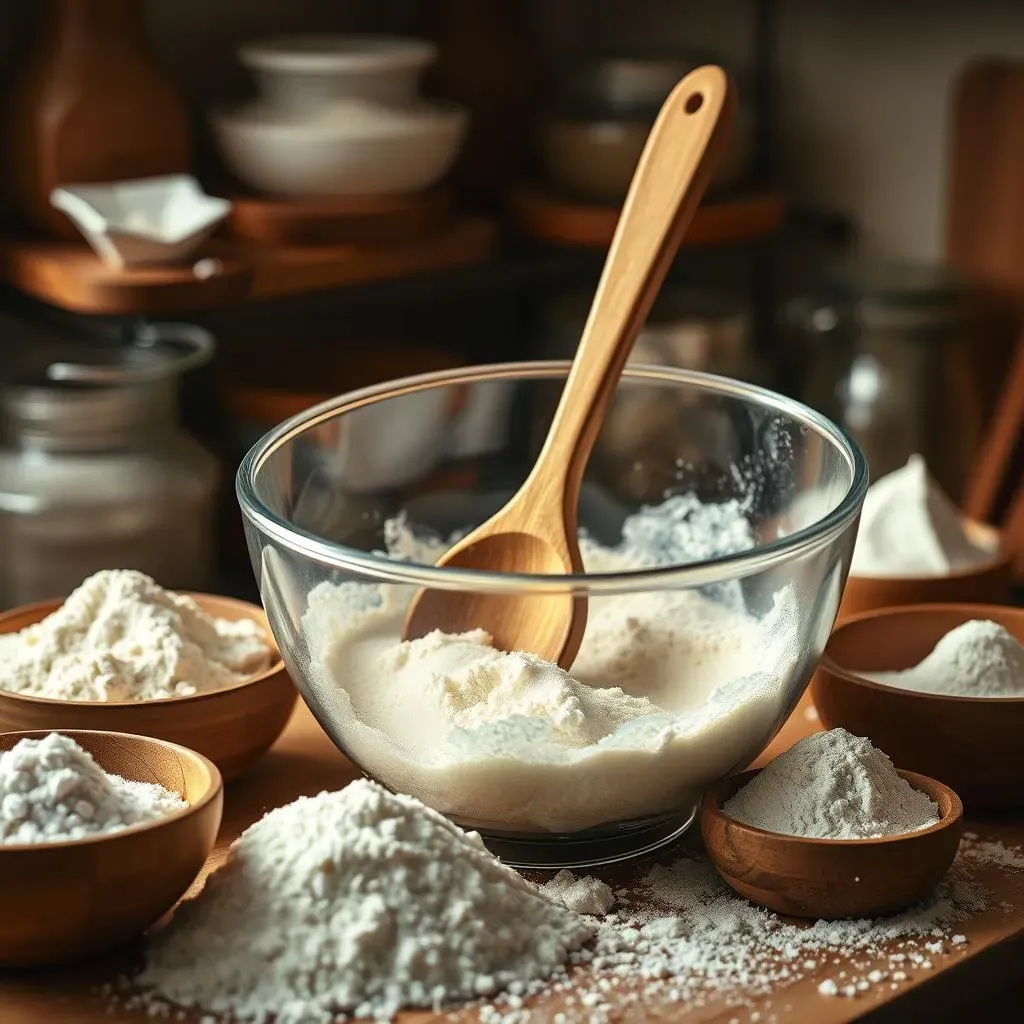
Getting Started with the Batter
Alright, now for the fun part: mixing the batter! It’s like creating the base for a masterpiece, and trust me, it’s easier than you think. First, grab a large bowl. In it, toss in all those dry ingredients we talked about: the flour, baking powder, sugar, and salt. Give it a good whisk. This helps get rid of any lumps and makes sure everything is evenly distributed. Think of it like fluffing up a pillow; you want it nice and airy. You don't want any sneaky clumps of baking powder hiding in your batter, they can ruin the final texture.
Next, in a separate bowl—yes, another one, but it’s worth it—whisk together all the wet ingredients. That's your milk, melted butter, egg, and that glorious vanilla extract. Whisk it all together until it's nice and combined. Now, here's the trick: pour the wet ingredients into the dry ingredients. Use a spatula or a spoon and gently fold everything together. Don't overmix! A few lumps are totally fine. Overmixing can make your pancakes tough, and nobody wants tough pancakes. If you need more guidance, check out our best classic pancake recipe for beginners for some extra tips.
The Folding Technique
Okay, let’s talk about this "folding" thing. It’s not like folding laundry. You want to gently bring the dry ingredients up from the bottom of the bowl and over the wet ingredients. Keep doing this until just combined. It’s a gentle process, almost like you’re tucking the dry ingredients into bed with the wet ones. You’ll notice the batter will be a bit thick, and that’s exactly what we’re going for. If it looks too thick, you can add a tablespoon or two of milk, but do it sparingly. Remember, a slightly lumpy batter is better than an overmixed one.
And that’s it! Your batter is ready to go. It's super tempting to add more vanilla, but trust the process. The 2 teaspoons are perfect for a subtle yet satisfying flavor. If you're feeling adventurous, you can experiment with different extracts later, but for now, let's stick to this classic. Now, let’s get this show on the griddle. If you're curious about other methods, our classic pancake recipe using a griddle might be helpful.
Cooking the Pancakes
Cooking the Pancakes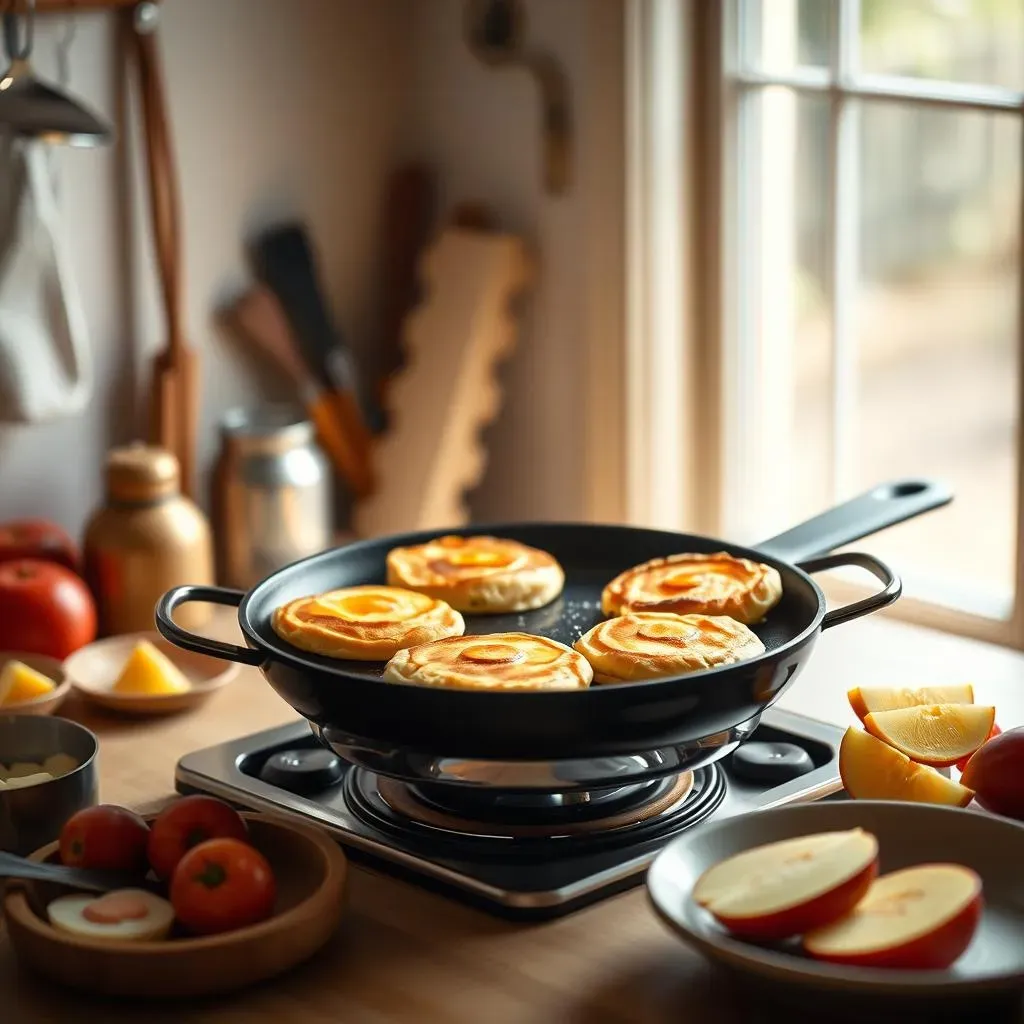
Alright, the batter is ready, and now it's time to get cooking! This is where the magic really happens, and those plain-looking ingredients transform into fluffy, golden pancakes. First, you'll want to get your griddle or pan nice and warm. Medium heat is the way to go here; too high, and you'll burn the outside before the inside is cooked, and too low, and your pancakes will be sad and flat. If you have a griddle, great! If not, a regular non-stick pan works just fine. Lightly grease it with a bit of butter or oil. You don’t need a ton, just enough to prevent the pancakes from sticking. A little goes a long way, trust me.
Once your pan is heated, pour about ¼ cup of batter onto the hot surface for each pancake. Don't overcrowd the pan; it’s better to cook in batches. Watch closely, the edges should start to look set and bubbles will begin to form on the top, this is the sign that it's almost time for the flip. This usually takes about 2-3 minutes. If you're unsure, check out our classic pancake recipe cooking tips for more guidance. The first flip is always the most nerve-wracking, but it’s also the most exciting!
Pancake Cooking Stage | What to Look For |
|---|---|
Initial Heat | Medium heat, pan lightly greased |
Pouring Batter | About ¼ cup per pancake, space them out |
First Side Cooking | Edges set, bubbles form on top (2-3 mins) |
Flipping | Carefully flip, cook until golden brown |
“Patience is a virtue, especially when cooking pancakes. Don't rush the heat, let it do its thing." - Wise words from a breakfast aficionado.
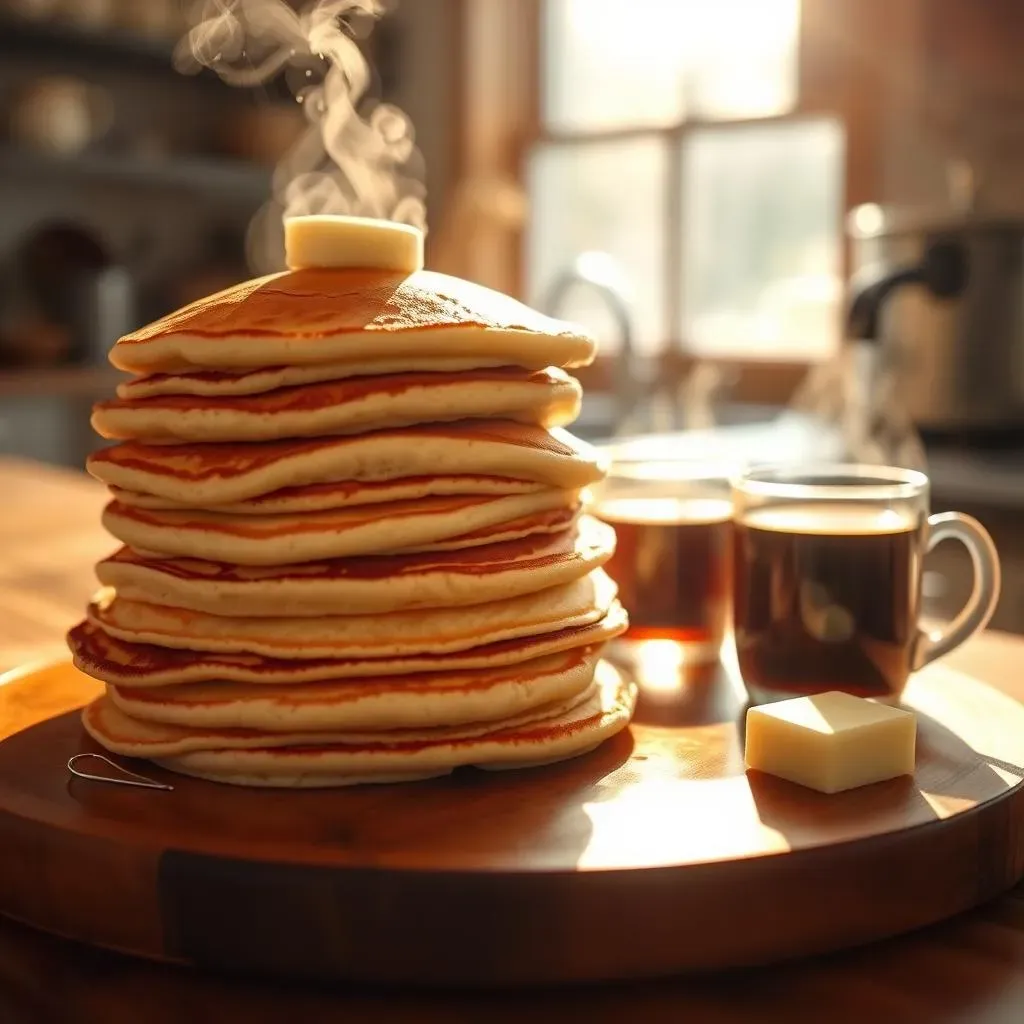
Serving and Storing Your Pancakes
Serving and Storing Your Pancakes
Serving Suggestions
Okay, so you've cooked a beautiful stack of pancakes, now what? Well, the possibilities are endless! The classic pairing is, of course, with a generous pour of maple syrup. But don't stop there! You can add a dollop of whipped cream for extra indulgence. Fresh berries like strawberries, blueberries, or raspberries add a burst of freshness and color. And if you're feeling fancy, a sprinkle of powdered sugar always looks elegant. Don't forget a side of crispy bacon or sausage for a complete breakfast feast. It is like dressing up your pancakes for a party! If you're curious about other ideas, check out our classic pancake recipe with different toppings for some inspiration.
Another great idea is to experiment with different fruit compotes or jams. A warm berry compote or a homemade apple jam can take your pancakes to a whole new level. And for the chocolate lovers out there, a drizzle of chocolate syrup or some chocolate chips can be a game-changer. You can even try a sprinkle of nuts for some added crunch. Remember, the best part about pancakes is that they're a blank canvas for your creativity. So, have fun and experiment with your favorite flavors! For those who are looking for a simpler option, our classic pancake recipe with simple ingredients might be a good fit.
Storing Leftovers
Sometimes, you end up with more pancakes than you can eat (is that even possible?). No worries! Leftover pancakes can be stored in the fridge for a few days. Just make sure to let them cool completely before placing them in an airtight container. You can stack them with pieces of parchment paper in between to prevent them from sticking together. When you're ready to eat them, you can reheat them in the microwave, toaster, or even in a pan on the stovetop. They might not be as fluffy as when they were freshly cooked, but they will still taste great!
If you want to store them for longer, you can also freeze them. Place the cooled pancakes on a baking sheet and freeze them for about an hour. This will prevent them from sticking together when you store them in a freezer bag. Once frozen, you can transfer them to a freezer bag and store them for up to a month. When you want to eat them, you can reheat them directly from the freezer in the microwave or toaster. This is super handy for those busy mornings when you don't have time to make a fresh batch. If you need to make a lot of pancakes, check out our classic pancake recipe for a crowd for tips.
Storage Method | Duration | Reheating Method |
|---|---|---|
Fridge | 3-4 days | Microwave, toaster, or stovetop |
Freezer | Up to 1 month | Microwave or toaster |
Tips for Batter Storage
And what about the batter, you might ask? Well, if you have leftover batter, you can store it in the fridge for up to two days. Just make sure to give it a good stir before using it. You might need to add a splash of milk if it has thickened up. You can also freeze the batter in a freezer-safe container for up to a month. When you want to use it, thaw it in the fridge overnight and give it a good stir before cooking. This is a great option if you want to make pancakes quickly in the morning. However, for the best results, fresh batter is always recommended, it just makes them fluffier. For those who want to make it from scratch, our classic pancake recipe from scratch is a great guide.
So, there you have it! All the tips you need to serve and store your delicious classic pancakes with vanilla extract. Whether you're enjoying them right away or saving them for later, these pancakes are sure to bring a smile to your face. Remember, cooking should be fun and enjoyable. Don't be afraid to experiment and add your own personal touch. If you're looking for a way to change things up, our classic pancake recipe variations might be useful. Happy cooking and even happier eating!
- Store leftover pancakes in fridge for 3-4 days.
- Freeze pancakes for up to 1 month.
- Store batter in fridge for 2 days.
- Freeze batter for up to 1 month.
The Sweet Ending
And there you have it—a stack of golden, vanilla-kissed pancakes ready to be devoured! We’ve journeyed from simple ingredients to a breakfast masterpiece, and hopefully, you’ve picked up a few tips along the way. This classic pancake recipe with vanilla extract is more than just a meal; it's a canvas for your creativity. Whether you stick to the basics or add your own special twist, the most important thing is to enjoy the process and the delicious results. Remember, cooking is all about experimenting and having fun, so don't be afraid to try new things and make this recipe your own. From my kitchen to yours, happy flipping and even happier eating! Don't forget to check out more breakfast ideas such as a classic pancake recipe using a griddle or how to make easy classic pancake recipe for kids, for more inspiration.