Table of Contents
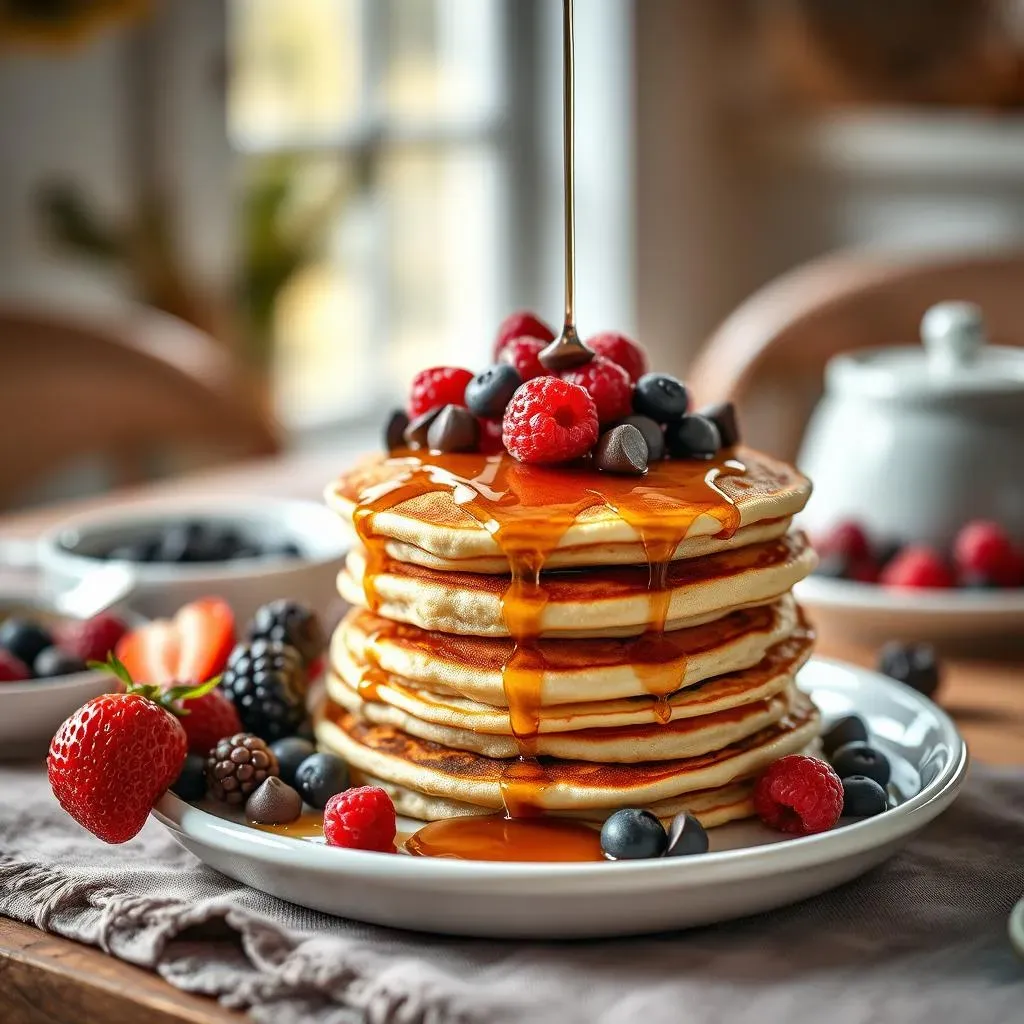
Craving a stack of warm, fluffy pancakes but need them to be gluten-free? You're not alone. Many of us navigate dietary restrictions, but that doesn't mean we should miss out on the joy of a perfect pancake breakfast, especially when you can add chocolate chips! This article will guide you through creating the ultimate gluten-free pancake recipe with chocolate chips, ensuring they're as delicious as they are easy to make. We'll cover everything from choosing the right flour blend to cooking them to golden perfection. Get ready to learn the secrets to achieving that coveted fluffy texture and how to customize your pancakes to fit your taste. We'll also explore how to store your pancakes for later, including freezing, because who wouldn't want to enjoy these treats all week? Whether you're a seasoned gluten-free baker or a complete beginner, this guide will have you flipping flawless chocolate chip pancakes in no time. Let’s jump in and make some magic!
The Secret to Perfect GlutenFree Pancakes
The Secret to Perfect GlutenFree Pancakes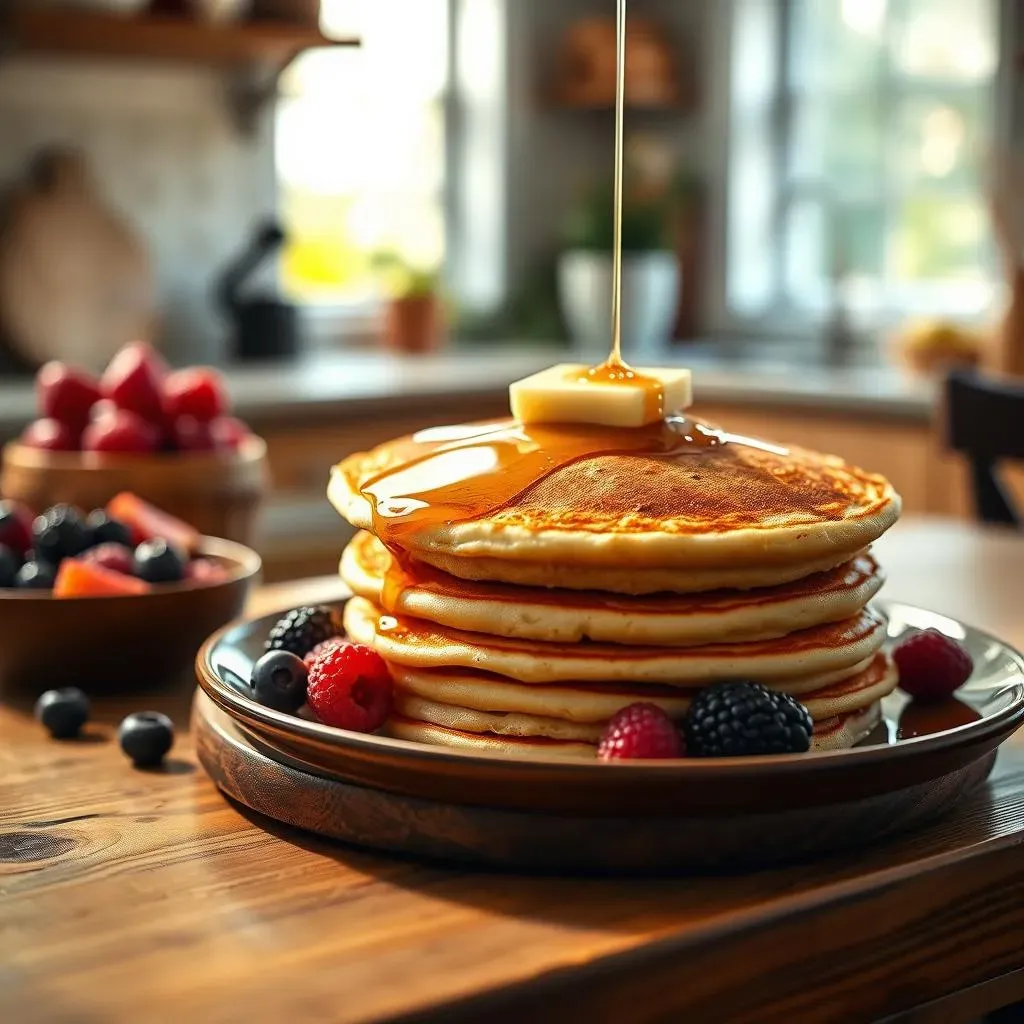
The Right Flour Makes All the Difference
Okay, let's get real. The biggest hurdle in gluten-free baking is the flour. It's not like wheat flour where you can just grab any bag and go. For fluffy pancakes, you need a blend that acts like it has gluten, even though it doesn’t. I’ve found that Bob's Red Mill All Purpose 1:1 Baking Flour works wonders. It has a mix of rice flour, sorghum flour, and tapioca starch which creates a light and airy texture. Using a blend is key, because each flour has different properties.
Don't just grab any random gluten-free flour. Think of it as a science experiment, but a delicious one! You want something that has the right balance of starches and flours to give you that perfect rise and soft bite. If you’re feeling adventurous, you could even try making your own blend, but start with a good pre-made one until you get the hang of it, check out our article about gluten free flour blends.
Batter Consistency is Crucial
Have you ever tried to make pancakes and ended up with flat, sad discs? Yeah, me too. The consistency of your batter is super important. It should be thick, like a very loose pudding. If it's too thin, your pancakes will spread all over the pan and won’t have any lift. Too thick, and they’ll be dense and gummy. It's all about finding that sweet spot. Don’t be afraid to let your batter sit for 5 to 10 minutes after mixing, this allows the flours to fully hydrate and helps improve the texture.
I remember one time I was rushing and didn't let my batter rest. The result? Pancakes that were more like sad crepes. So, take your time, and don't skip this step. It’s also worth noting that batter consistency can vary based on the type of plant-based milk you use, check out our article about plant-based milk in pancakes.
Flour Type | Texture | Use |
|---|---|---|
Rice Flour | Light, Slightly Gritty | Base Flour |
Sorghum Flour | Mild, Slightly Sweet | Adds Softness |
Tapioca Starch | Smooth, Binding | Helps with Texture |
StepbyStep: Making the Batter and Cooking
StepbyStep: Making the Batter and Cooking
Mixing the Batter: A Gentle Approach
Alright, let's get to the fun part—making the batter! Start by whisking all your dry ingredients together in a large bowl. This means your gluten-free flour blend, a bit of sugar, baking powder, and a pinch of salt. Make sure everything is nicely combined, because we don't want any pockets of baking powder later. Now, in a separate bowl, whisk your wet ingredients: eggs (or your favorite egg replacer), melted butter (or oil), milk (or plant-based milk), and vanilla extract.
Slowly pour the wet ingredients into the dry, mixing gently with a spatula. Don't overmix! Overmixing can develop the gluten (even though it's gluten-free, haha) and make your pancakes tough. Mix until just combined, and you still see some lumps. These lumps are good, they'll create air pockets in your pancakes for that fluffy texture. It is a good idea to read our article about using blender in pancake recipe, if you want to skip the manual mixing.
Cooking to Perfection: Heat and Flip
Now it's time to cook these beauties. Heat a lightly oiled griddle or frying pan over medium heat. You want it hot enough so that the pancakes cook evenly and get that lovely golden-brown color, but not so hot that they burn. Pour about 1/4 cup of batter onto the hot surface for each pancake. Once you see bubbles forming on the surface and the edges start to look set, it's time to flip.
Use a thin spatula to flip them gently. Cook for another minute or two until the other side is golden brown. Don't overcrowd your pan, or the pancakes won't cook properly. If you are curious about the best way to cook pancakes, check out our article about pancake recipe comparison.
- Use medium heat
- Wait for bubbles
- Flip gently
- Don't overcrowd the pan
Customize Your Stack: Addins, Swaps, and More
Customize Your Stack: Addins, Swaps, and More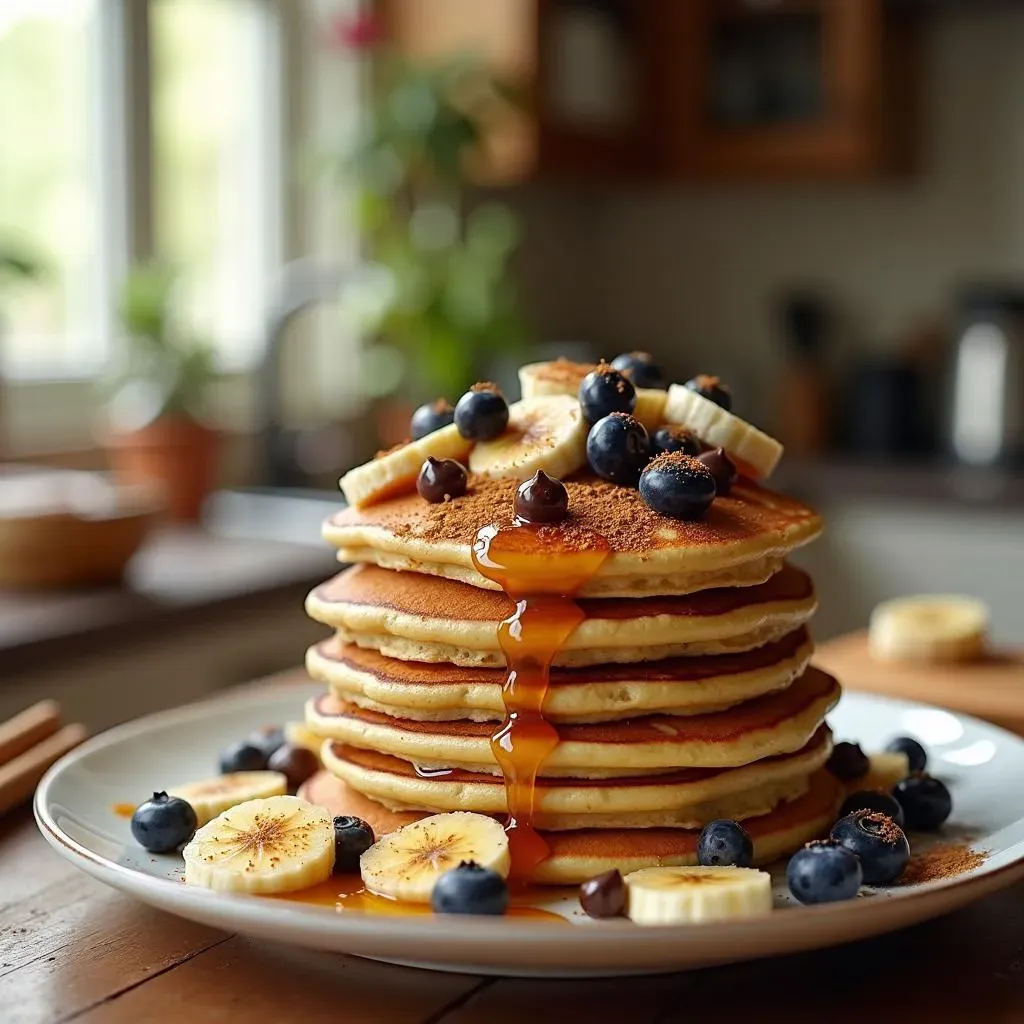
Customize Your Stack: Add-ins, Swaps, and More
Okay, so you've nailed the basic gluten-free pancake. Now, let's talk about making them *your* pancakes. The beauty of this recipe is how easily it can be customized. First, chocolate chips, because, well, why not? Throw in a handful of semi-sweet, dark, or even white chocolate chips into the batter before cooking. If you're feeling fruity, blueberries, raspberries, or sliced bananas are also fantastic additions. Remember, we are making this your own masterpiece, and don't be scared to experiment with flavors. Maybe you want to try a banana gluten free pancake recipe?.
For a bit more sweetness, you can add a drizzle of honey or maple syrup to the batter. Or if you want to go crazy, add a dash of cinnamon or nutmeg for a warm, spiced flavor. And don't forget about extracts! A little almond extract or even some orange zest can take your pancakes to the next level. You can also add a scoop of protein powder for extra boost in your breakfast, check out our article about protein powder in pancakes.
Add-in | Flavor Profile | Notes |
|---|---|---|
Chocolate Chips | Sweet, Rich | Mix into batter |
Blueberries | Fruity, Tart | Add on top or mix in |
Cinnamon | Warm, Spicy | Add to dry ingredients |
Honey | Sweet, Floral | Drizzle on top or mix in batter |
Storing, Freezing, and Reheating Tips
Storing, Freezing, and Reheating Tips
Storing Leftovers: Keep 'Em Fresh
So, you’ve made a glorious batch of gluten-free chocolate chip pancakes, but maybe you can't eat them all right away. No worries! You can keep them in the fridge for up to three days. The key is to let them cool completely before storing. This prevents them from getting soggy. Once cooled, stack them between layers of parchment paper in an airtight container. This will keep them from sticking together. I always make a big batch, so I have some ready for the next day, or if I am feeling like a late night snack.
Avoid storing them while they are still warm, or you might end up with condensation inside the container, making them unappetizingly mushy. If you want to ensure your pancakes last longer, consider freezing them. It is also important to know how to store your batter, check out our article about pancake recipe troubleshooting.
Freezing and Reheating: Pancakes on Demand
Freezing pancakes is a game-changer. It means you can have a delicious breakfast ready whenever you want, without all the fuss. To freeze, arrange cooled pancakes in a single layer on a baking sheet lined with parchment paper. Once frozen solid, transfer them to a freezer-safe bag or container. This method prevents them from sticking together. They can be stored in the freezer for up to two months.
When you’re ready to eat, you can reheat them in a toaster, microwave, or a pan on the stovetop. If using a toaster, toast them on a lower setting to prevent them from burning. For the microwave, heat them in short intervals until they are warm. On the stovetop, reheat them in a lightly oiled pan over medium heat until they are heated through. I find that the toaster gives them a nice crispness, but it is all up to personal preference. If you are looking for more ideas, check out our article about quick breakfast ideas.
Storage Method | Time | Notes |
|---|---|---|
Fridge | Up to 3 days | Cool completely before storing |
Freezer | Up to 2 months | Freeze in a single layer first |
Wrapping Up Your Gluten-Free Pancake Adventure
So, there you have it! Mastering a delicious gluten-free pancake recipe with chocolate chips is totally achievable, and it’s way more fun than you might think. From nailing the perfect flour blend to customizing your stack with all sorts of goodies, now you have the knowledge to make your mornings a little brighter. Don't be afraid to experiment with different add-ins or try variations to find your own signature pancake. Whether you’re making them for a quick breakfast, a weekend brunch, or a special treat, these pancakes are sure to bring smiles. And remember, even if your first batch isn’t perfect, keep practicing. Every pancake is a step toward breakfast mastery, and you’ll be enjoying perfect, fluffy, chocolate-chipped pancakes in no time. Happy flipping!