Table of Contents
Have you ever tried making gluten-free pancakes and ended up with something more like a hockey puck than a fluffy breakfast treat? I've been there, battling with the usual suspects in gluten-free baking, especially those pesky gums. Xanthan gum, while often touted as a savior, can sometimes be the villain, turning your pancakes into a dense, gummy mess. That's why I embarked on a mission to create the perfect gluten-free pancake recipe without xanthan gum. This isn't just about omitting an ingredient; it's about understanding how different flours and starches work together to achieve that light and airy texture we all crave. In this article, we'll explore why gums aren't always necessary, I'll share my go-to recipe, and provide tips to ensure your pancakes turn out amazing every single time. We'll cover the common issues with gums in gluten-free recipes, what you can use as alternatives, and how to avoid common mishaps. Get ready to flip some seriously delicious and fluffy gluten-free pancakes!
The Problem with Gums in GlutenFree Baking
The Problem with Gums in GlutenFree Baking
The Sticky Situation with Gums
Okay, let's talk about gums. You know, xanthan gum, guar gum, all those things that sound like they belong in a science lab rather than your kitchen? They're often the go-to ingredient in gluten-free baking because they mimic the elasticity that gluten provides. Gluten is the protein that makes wheat flour so versatile, giving baked goods their structure and chewiness. When we remove gluten, we need something to take its place. This is where gums come in, acting like a sort of glue. But, like any glue, too much can be a disaster. And honestly, sometimes, even a little is too much.
I've had my share of gummy, dense, and frankly, disappointing gluten-free pancakes. It's like the batter just refuses to cooperate, turning into a rubbery mess on the griddle. The texture is often the culprit. Gums can give that weird, almost slimy mouthfeel, which is not what you want when you are expecting a light, fluffy pancake. It is a delicate balance between using enough to get a decent structure and not using so much that the texture becomes unpleasant. This balancing act is what many home bakers struggle with.
Many pre-made gluten-free flour blends include these gums, which can be convenient, but they also lock you into using a specific ratio that you might not need. This can be a real bummer when you are trying to create your own recipes and want to control the texture yourself. Sometimes, it feels like you are fighting against the blend rather than working with it. You might find yourself wondering if there is a better way, a way to achieve that perfect pancake without relying on these gums. And guess what? There is! We just need to understand what these gums do and how to get the same effect with other ingredients. If you are curious about other ways to make delicious pancakes, you should check out the blend of flours post for more ideas.
- Gums mimic gluten's elasticity.
- Too much gum leads to gummy textures.
- Pre-made blends often contain gums.
The Texture Trap
The real issue with gums isn't just that they can be overused; it's also that they don't always create the *right* kind of structure. Think of it like this: gluten creates a network of tiny, flexible strands, which is what gives bread and pancakes that light, airy quality. Gums, on the other hand, tend to create a more rigid structure. This can be fine for some baked goods, but it's not great for pancakes, where you're looking for a delicate, almost melt-in-your-mouth texture. It's like the difference between a bouncy castle and a brick wall, and we all know which one is more fun to bounce on.
This difference in structure is why you might find that some gluten-free pancakes using gums can be dense and heavy, even if they look fluffy. The gums create a kind of barrier, making it harder for the air bubbles to rise and create that airy texture. It's like they are trying to hold everything together a little too tightly, which is not what we want. This can leave you with a pancake that's more like a flatbread than a breakfast treat, and no one wants that.
Also, the amount of gum needed can vary wildly depending on the recipe. Even a slight miscalculation can lead to a textural disaster. This makes it hard to experiment and come up with your own recipes. It's like trying to follow a map where the landmarks keep changing. For a deeper dive into how different flours affect your pancakes, you might find the information in this comparison to be very helpful. You might even find that you can skip the gums entirely.
The Quest for Gum-Free Goodness
So, if gums aren't always the answer, what is? Well, the good news is, you don't need them to make amazing gluten-free pancakes. The key lies in understanding how different gluten-free flours and starches behave. We can create a blend that mimics the properties of gluten without relying on gums. It is all about the combination and how they interact with other ingredients. Think of it like building a house; you need the right materials to create a strong and stable structure, and the same applies to pancakes.
For example, using a mix of rice flours and starches can provide the right balance of structure and lightness. Each flour and starch brings its own unique properties to the table, and by combining them correctly, we can get the desired result. It is like creating a superhero team, where each member has their own special power. And the best part is, when you get the hang of it, you can tweak your recipe to match your own preferences. If you are feeling adventurous, you might want to explore rice flour recipes as a starting point for your experiments.
We're on a mission to show you that you can have incredibly fluffy, delicious gluten-free pancakes without any of the gumminess. It's about understanding the science of baking and using that knowledge to our advantage. So, get ready to ditch the gums and discover a whole new world of gluten-free pancake possibilities. I promise you, once you try it, you'll never go back to gummy pancakes again!
Issue | Why it Happens | Solution |
|---|---|---|
Gummy Texture | Too much gum or wrong type of gum | Reduce gum or use a blend of flours and starches |
Dense Pancakes | Gums create rigid structure | Use a combination of light flours and starches |
Inconsistent Results | Varying gum amounts needed | Develop a reliable gum-free recipe |
Crafting the Perfect Xanthan GumFree Pancake
Crafting the Perfect Xanthan GumFree Pancake
The Foundation: Flour Power
Alright, so we're ditching the gums, which means we need a solid plan for our flour blend. It's not about just grabbing any gluten-free flour and hoping for the best. Each flour brings something different to the party. For this recipe, I've found that a mix of brown rice flour, white rice flour, potato starch, and tapioca starch works wonders. Brown rice flour gives a bit of a nutty flavor and some structure, while white rice flour keeps things light. Potato starch is great for binding and adding moisture, and tapioca starch helps create that soft, slightly chewy texture we're after. Think of it like a band, each member has its own instrument to play, creating a beautiful harmony.
The ratios are important here, too. Too much of one flour can throw everything off. I usually go for equal parts of white rice flour and tapioca starch, slightly less brown rice flour, and even less potato starch. It's a bit of a balancing act, but once you nail it, you'll have the perfect base for fluffy pancakes every time. This blend is also very versatile; you can use it as a base and tweak it a bit depending on what kind of pancakes you're making. If you are curious about using only one type of flour, you should check out this rice flour recipe for more ideas.
It’s like creating a superhero team, where each member has their own special power, and in this case, each flour has its own properties to create the perfect pancake. The best part is, once you get the hang of it, you can tweak your recipe to match your own preferences. If you are feeling adventurous, you might want to explore other types of flours.
- Brown rice flour adds structure.
- White rice flour keeps it light.
- Potato starch binds and adds moisture.
- Tapioca starch creates a soft texture.
The Wet Ingredients: Binding it All Together
Now, let's talk about the wet ingredients. We are not using gums, so we need to make sure that our wet ingredients are doing their job. I like to use buttermilk in my recipe, it helps create a tender crumb and a slight tang that is just perfect. If you do not have buttermilk on hand, you can easily make it yourself by adding a tablespoon of lemon juice or vinegar to a cup of milk and letting it sit for a few minutes. This works like a charm and can be a lifesaver when you are in a pinch. For dairy-free options, plant-based milks like almond or soy milk work just as well. You can even add some apple cider vinegar to them to get that buttermilk effect.
Eggs are also important for binding and adding structure. They are basically the glue that holds everything together. I usually use two large eggs in my recipe, but you can experiment with flax eggs or chia eggs if you are looking for an egg-free option. Just make sure to adjust the liquid to make sure your batter is not too thick. The key is to find the right balance of wet and dry ingredients to create a batter that is pourable but not too runny. If you are looking for an egg-free option, you might find this egg-free recipe interesting. You can also use this recipe as a base and tweak it to your preferences.
The key is to find the right balance of wet and dry ingredients to create a batter that is pourable but not too runny. It is like creating a painting, where you need to mix the right colors to get the perfect shade. And the best part is, once you get the hang of it, you can tweak your recipe to match your own preferences.
The Mixing Method: A Gentle Touch
When it comes to mixing, less is more. You don’t want to overmix your batter, which can develop the starches and make your pancakes tough. Mix your dry ingredients in one bowl, and your wet ingredients in another. Then, gently pour the wet ingredients into the dry ingredients and whisk until just combined. It's okay if there are a few lumps, they will disappear as the batter rests. Overmixing is a common mistake that can lead to dense and rubbery pancakes, so remember to be gentle. Think of it like folding laundry, you need to be delicate to avoid ruining the clothes.
After mixing, let the batter sit for 3-5 minutes. This allows the flours and starches to fully absorb the liquid, which is crucial for a good texture. This resting period is like giving the batter a little nap before it hits the griddle. It will help your pancakes become lighter and fluffier. It also allows the gluten-free flours to hydrate properly, which is a key step in achieving the perfect texture. If you want to try other variations, you can check out this blend of flours article.
And that's it! You've successfully crafted a gum-free pancake batter. Now you are ready to cook your pancakes and enjoy the fruits of your labor. It is all about the right ingredients and technique. With a little practice, you will be a pancake master in no time.
Ingredient | Purpose | Notes |
|---|---|---|
Buttermilk | Tender crumb, tang | Can use regular milk with lemon juice or vinegar |
Eggs | Binding, structure | Can substitute with flax or chia eggs |
Flour Blend | Structure, texture | Mix of brown rice, white rice, potato starch, tapioca starch |
Tips and Tricks for Fluffy, Delicious Results
Tips and Tricks for Fluffy, Delicious Results
The Heat is On: Cooking Your Pancakes
Alright, you've got your batter, now it's time to get cooking! The heat of your griddle or pan is super important. You want it to be medium-low. If it's too hot, your pancakes will burn on the outside before they cook through, and nobody wants a burnt pancake. If it's too low, they'll be pale and sad and take forever to cook. A good way to test it is to flick a tiny bit of batter onto the surface; if it sizzles gently and starts to cook, you're good to go. I like to use a lightly greased griddle or non-stick pan. A little butter or oil goes a long way, and it helps to get that golden-brown color.
Once the pan is ready, pour about ¼ cup of batter for each pancake. Don't overcrowd the pan. Give them some space to spread out and cook evenly. Now, here's the tricky part: patience. Don't flip them too soon! You need to wait until you see bubbles forming on the surface and the edges start to look set. This usually takes about 2-3 minutes. Once you see those bubbles, it's time to flip. Use a thin spatula to carefully flip them over, and cook for another 1-2 minutes on the other side, until they are golden brown. For more tips, you can also read our troubleshooting guide.
Remember, cooking pancakes is a bit of an art, and it takes practice. Don't worry if your first few aren't perfect. You'll get the hang of it. And even if they are not super models, they will still taste delicious. The most important thing is to have fun and enjoy the process. It's like learning to ride a bike; you might fall a few times, but eventually you'll be cruising along with no problems. And when you do, you'll be a pancake-flipping master!
The Fluff Factor: Secrets to a Light Texture
So, you've cooked your pancakes, but they're not quite as fluffy as you hoped? Don't worry, there are a few things you can do to boost that fluff factor. First, make sure you don't overmix your batter. Overmixing develops the starches and makes the pancakes tough. Remember, a gentle hand is key. Another trick is to add a little bit of baking powder. This will help the pancakes rise and become even lighter. You can also add a tablespoon of apple cider vinegar or lemon juice to the batter; it reacts with the baking soda and creates extra lift. It is like creating a science experiment in your kitchen.
Another important factor is the resting time. After mixing, let the batter sit for at least 3-5 minutes. This allows the flours and starches to fully absorb the liquid, which is crucial for a good texture. It's like giving the batter a little nap before it hits the griddle. It will help your pancakes become lighter and fluffier. Also, make sure you are using fresh baking powder. If it's old, it won't work as well, and your pancakes will be flat. You can also try using a whisk to whip a bit of air into the wet ingredients before adding them to the dry ingredients. If you want to try different variations, you might find our plant-based milk guide useful.
Finally, don't press down on the pancakes while they're cooking. It pushes out the air and makes them dense. Let them do their thing, and they'll become nice and fluffy on their own. It’s like giving a plant space to grow. You need to let the pancakes have some space to become fluffy. With these tips, you will be able to create the fluffiest gluten-free pancakes in the world. And you will be the envy of every breakfast lover.
- Don't overmix the batter.
- Add a touch of baking powder for lift.
- Rest the batter before cooking.
- Use fresh baking powder.
- Don't press down on pancakes.
Serving Suggestions: The Perfect Finishing Touch
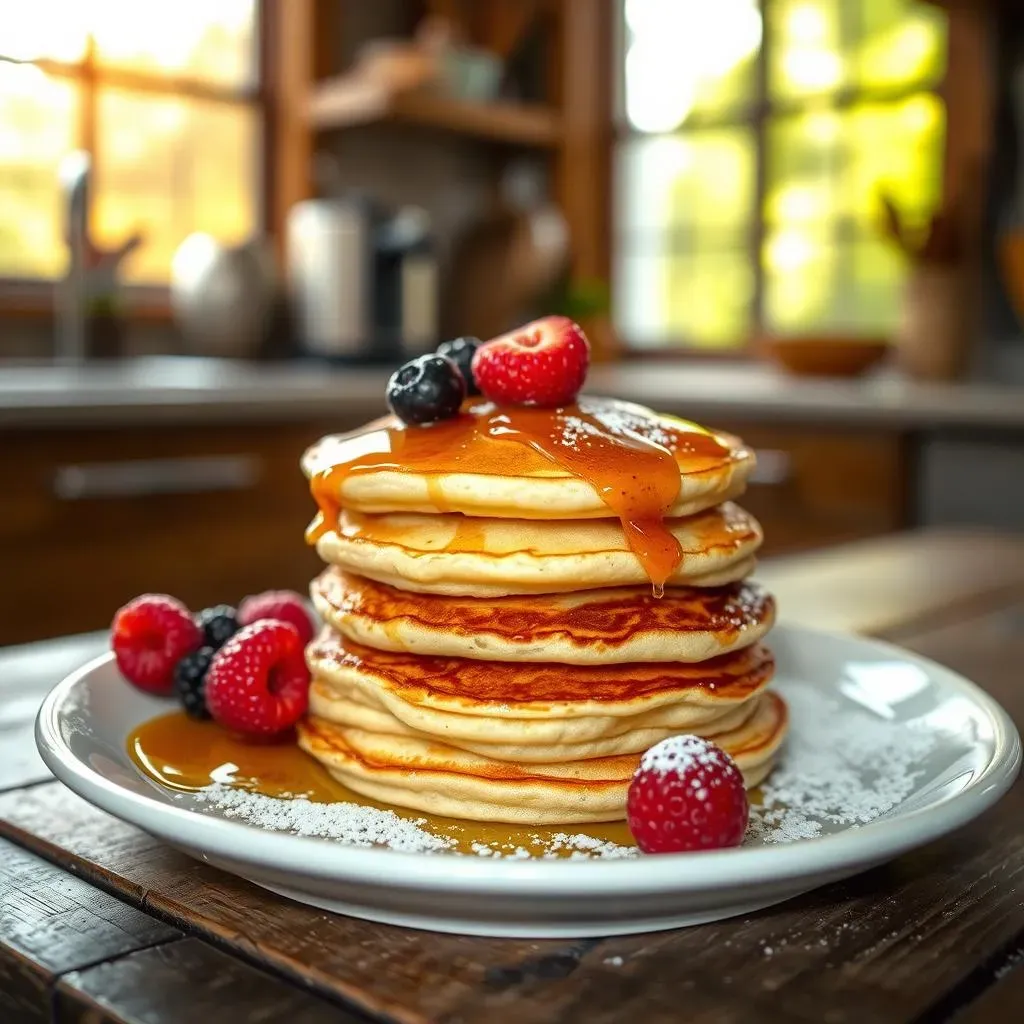
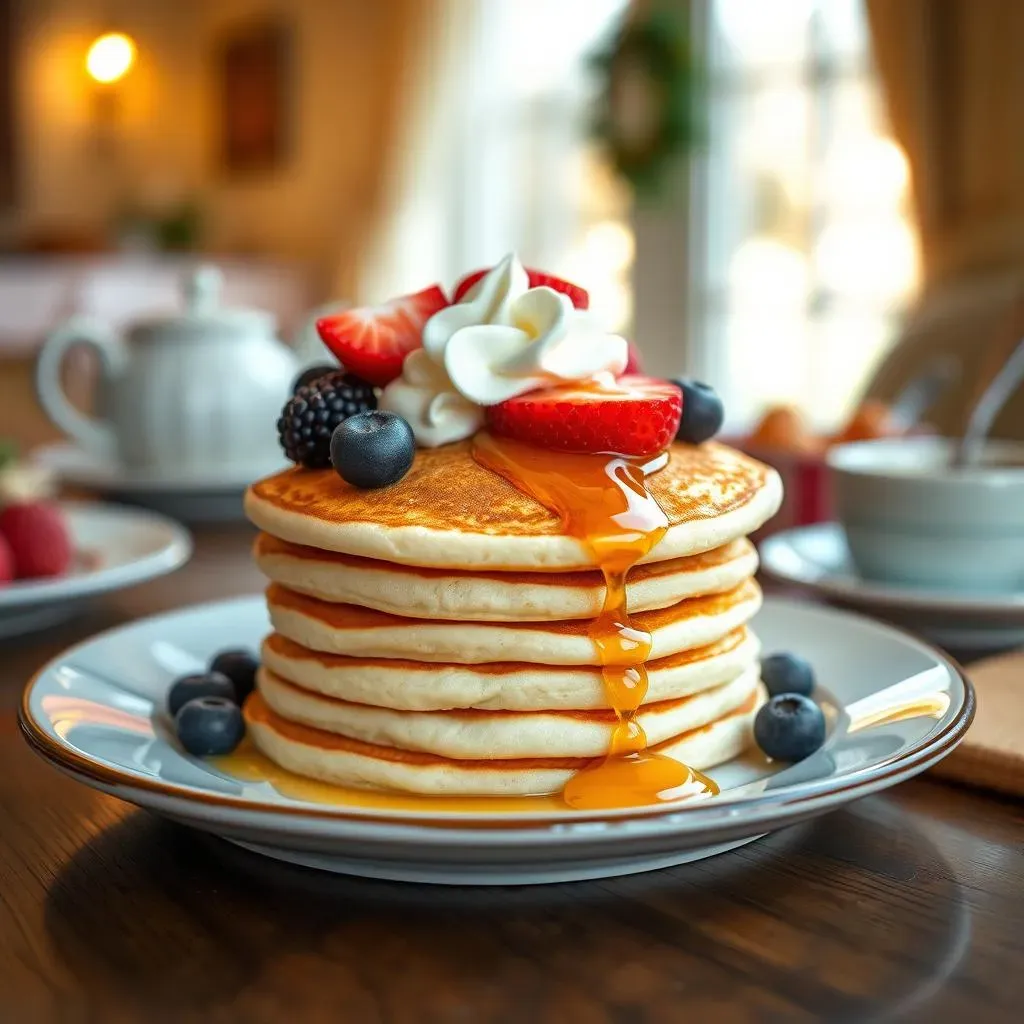
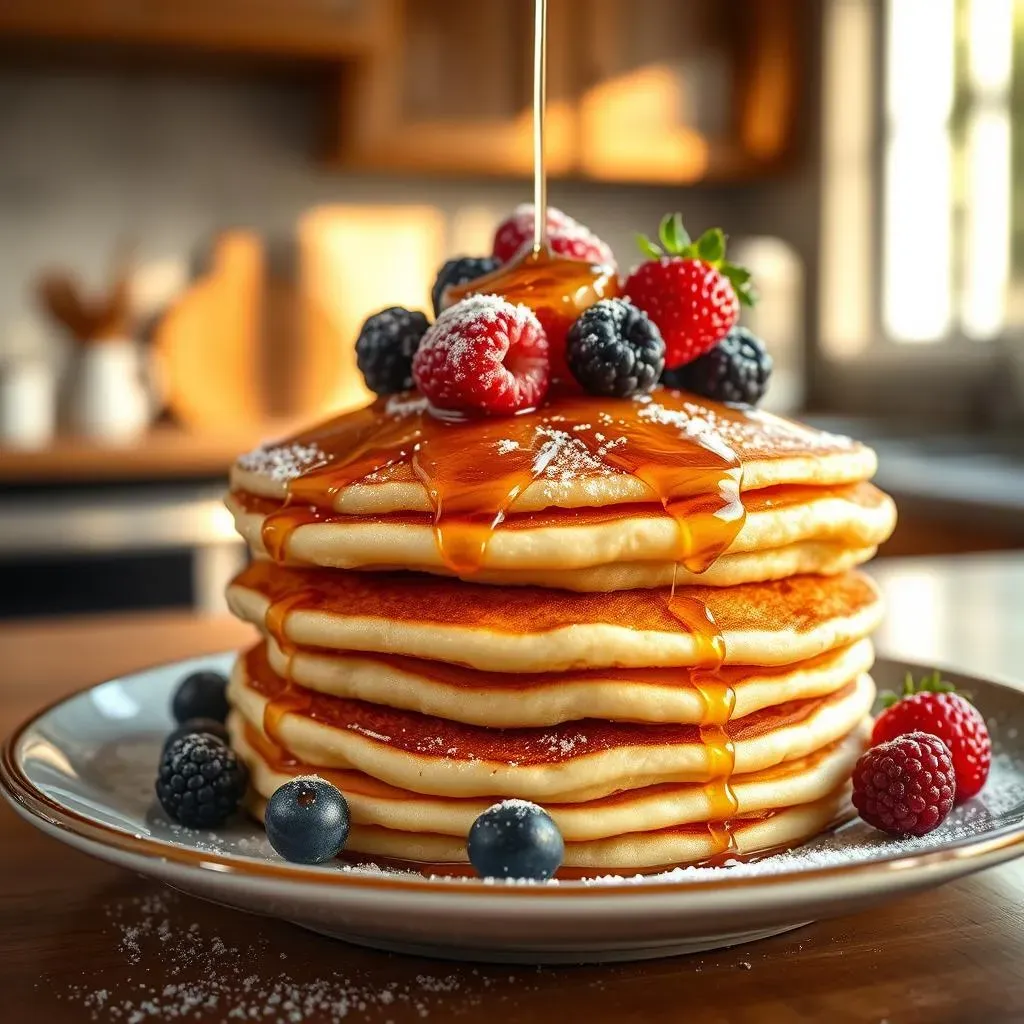
Okay, so you've got your fluffy, delicious gluten-free pancakes. Now, it’s time to think about the fun part: toppings! The possibilities are endless. You can go classic with butter and maple syrup, or get creative with fresh berries, whipped cream, chocolate chips, or a drizzle of honey. A dollop of Greek yogurt and a sprinkle of granola is another excellent idea, or you can even try some sliced bananas and nuts. It all depends on your personal preference.
You can also try making a homemade fruit compote by simmering some berries with a little bit of sugar and lemon juice. It adds a nice touch of freshness and makes the pancakes even more special. And if you are feeling extra fancy, you can add a sprinkle of powdered sugar on top. You can also make this pancakes for special occasions, as you can check out our special occasions article. It all depends on your mood and what is in your fridge. It is like creating a masterpiece, you can add all the final touches to make it perfect.
Pancakes are not just for breakfast; you can enjoy them for brunch, lunch, or even dinner. They're also a great option for a quick and easy meal. And, let’s be honest, who doesn’t love a good stack of pancakes? Whether you are making them for yourself or for a crowd, these gluten-free pancakes are sure to be a hit. So go ahead, get creative and enjoy every single bite! It's like creating your own adventure and each bite is a new discovery.
Topping | Why It Works |
|---|---|
Maple Syrup | Classic, sweet, and simple |
Fresh Berries | Adds freshness and flavor |
Whipped Cream | Creamy and indulgent |
Chocolate Chips | Sweet and delicious |
Honey | Natural sweetness |
The Final Flip: Delicious Gluten-Free Pancakes Without the Gum
So, there you have it! Creating a truly delicious gluten-free pancake without xanthan gum isn't some mythical quest; it’s totally achievable with the right blend of flours and a little know-how. Remember, the key is in understanding how those different starches and flours interact, and don't be afraid to experiment a little. Whether you're dealing with allergies, sensitivities, or just prefer a lighter pancake, this recipe proves that you don't need gums to achieve that perfect fluffy texture. Now, go forth and flip some pancakes, and don't forget to share your creations! You can always check out our other recipes like our easy gluten-free pancake recipe for beginners or our best gluten-free pancake recipe for celiacs for more inspiration.
