Table of Contents
Ever dreamt of flipping golden, fluffy pancakes like a breakfast wizard? You're not alone! The quest for the best classic pancake recipe for beginners often feels like searching for a hidden treasure. But guess what? It’s way easier than you think. Forget complicated techniques and fancy ingredients; we're going back to basics, focusing on simplicity and deliciousness. This article is your friendly guide to mastering the art of the perfect pancake. We’ll start with gathering the few, simple ingredients you probably already have. Then, we'll walk through mixing them just right and cooking them to a perfect golden brown. Finally, we’ll chat about how to serve your yummy stacks and what to do if there are any leftovers. By the end, you’ll be ready to impress your family and friends with your newfound pancake prowess, no experience required. Let’s get flipping!
Gather Your Simple Ingredients
Gather Your Simple Ingredients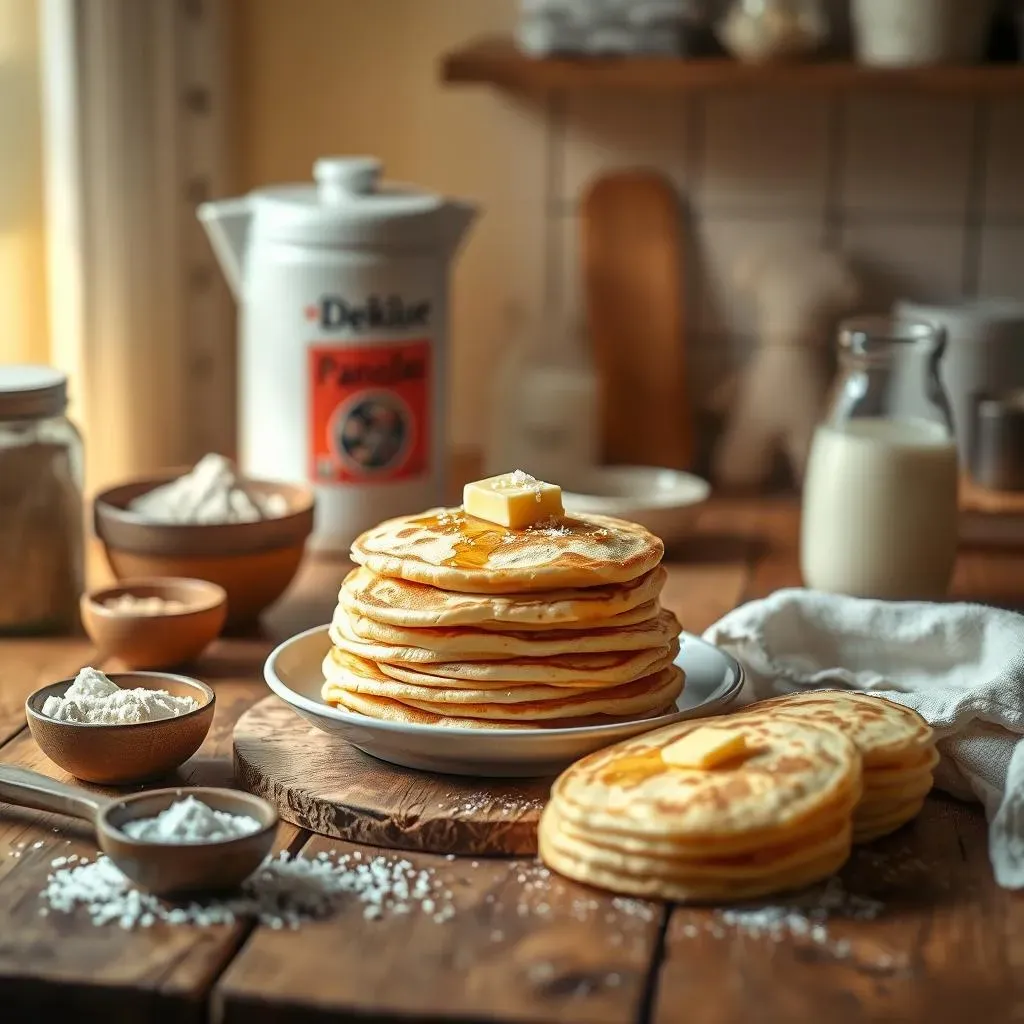
Alright, let’s talk ingredients! You don't need a pantry full of fancy stuff for the best classic pancake recipe for beginners. We're keeping it simple, focusing on the essentials that'll give you those fluffy, golden discs of breakfast joy. Think of it like gathering your superhero team – each one has a crucial role. First up, you'll need some all-purpose flour, that's the base of our pancake power. Then comes baking powder, which is the secret to making them rise nice and fluffy. Sugar adds just a touch of sweetness, not too much, we don't want cake. A pinch of salt balances everything out, it's the quiet hero in the background. And of course, we need milk to bring it all together, a little melted butter for richness and an egg to bind everything. See? Nothing too crazy!
Speaking of keeping it simple, remember that the best classic pancake recipe uses the most basic ingredients and techniques. There is no need to overcomplicate it. If you are looking for more ideas, check out this simple ingredients pancake recipe. You can use alternatives for these ingredients as well if you do not have them, like milk alternatives. You can find more information about this topic in pancakes using milk alternatives.
Ingredient | Purpose |
|---|---|
All-Purpose Flour | The base of the pancake |
Baking Powder | Makes it fluffy |
Sugar | Adds sweetness |
Salt | Balances flavors |
Milk | Brings everything together |
Melted Butter | Adds richness |
Egg | Binds the ingredients |
Mixing Like a Pro
Mixing Like a Pro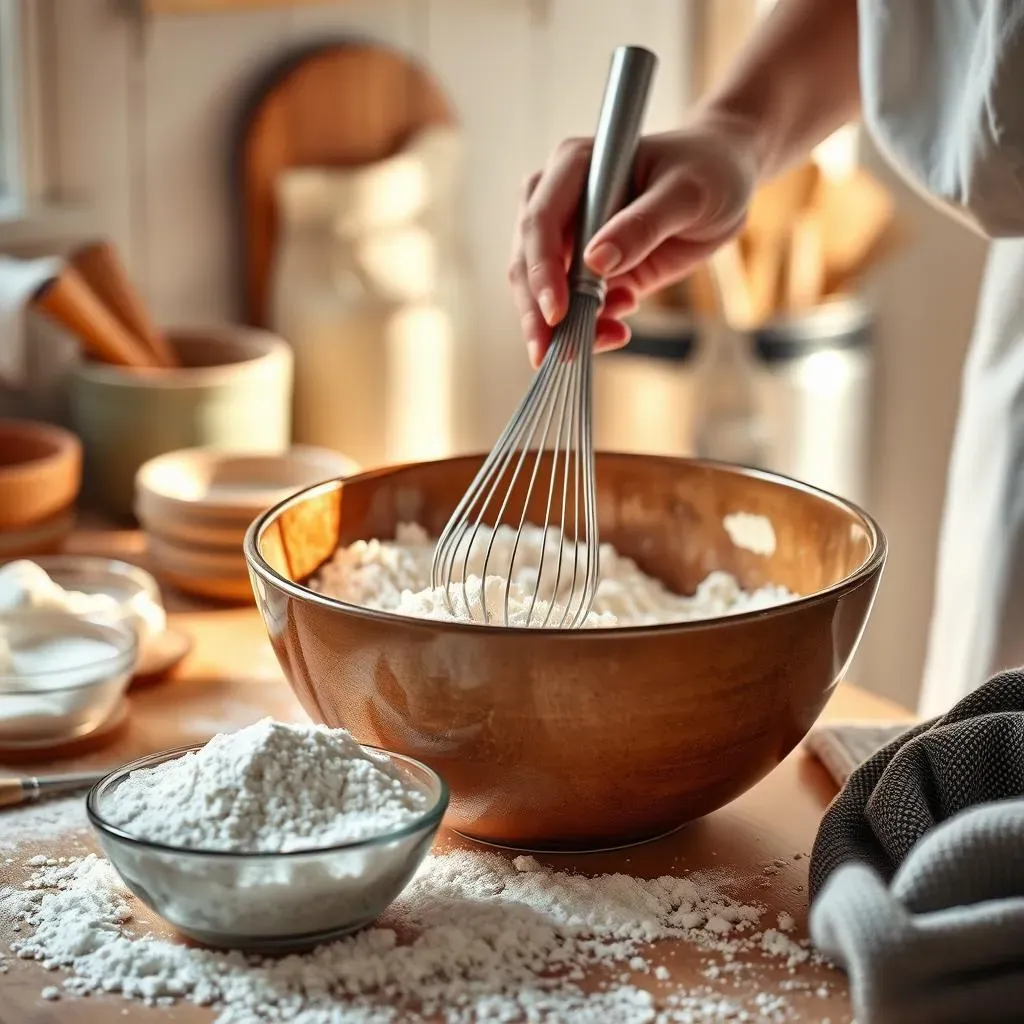
Dry Ingredients First
Okay, now that we've got our superhero ingredients, it's time to mix them up! But hold your horses, we don't just dump everything in at once. That's a recipe for disaster, or at least, lumpy pancakes. The secret is to start with the dry ingredients. Think of it like building a sandcastle, you need a solid base first. Grab a big bowl, and toss in your flour, baking powder, sugar, and salt. Give them a good whisk, this is super important to distribute the baking powder evenly, so you get a nice rise in your pancakes. I like to imagine I'm a fancy chef when I do this, whisking with purpose, you know?
Once your dry ingredients are well combined, you can move on to the wet stuff. This is where you get to bring in the milk, melted butter, and egg. In a separate bowl, whisk those together until they're all nice and smooth. It's like creating a little liquid magic potion. And remember, if you do not want to use milk, you can find some alternative in this milk alternatives pancake recipe. The key here is to not over mix it, just combine it until it looks like a happy mixture.
Step | Description |
|---|---|
1 | Whisk dry ingredients (flour, baking powder, sugar, salt) |
2 | Whisk wet ingredients (milk, melted butter, egg) |
Combine Gently
Now for the fun part, combining the wet and dry ingredients! This is where many beginners make a mistake, they over mix. You do not want to do that. Pour the wet ingredients into the bowl with the dry stuff. Use a spatula or a spoon, and gently fold the wet into the dry. Don't go crazy stirring, just mix until everything is barely combined. A few lumps are totally okay, it's better to have a few lumps than a tough pancake. Over mixing develops the gluten in the flour, making your pancakes chewy instead of fluffy. We want light and airy, not dense and rubbery. It's like giving your mixture a gentle hug, not a wrestling match.
Once you have combined the wet and dry ingredients, it is time to cook your pancakes. If you are looking for more information about cooking pancakes, check out this pancake cooking tips article. You can also use a griddle for cooking your pancakes, you can find more about that in this pancakes with a griddle recipe.
"The secret to fluffy pancakes is gentle mixing and a hot griddle." - Some wise breakfast guru
Cooking Your Pancakes Perfectly
Cooking Your Pancakes Perfectly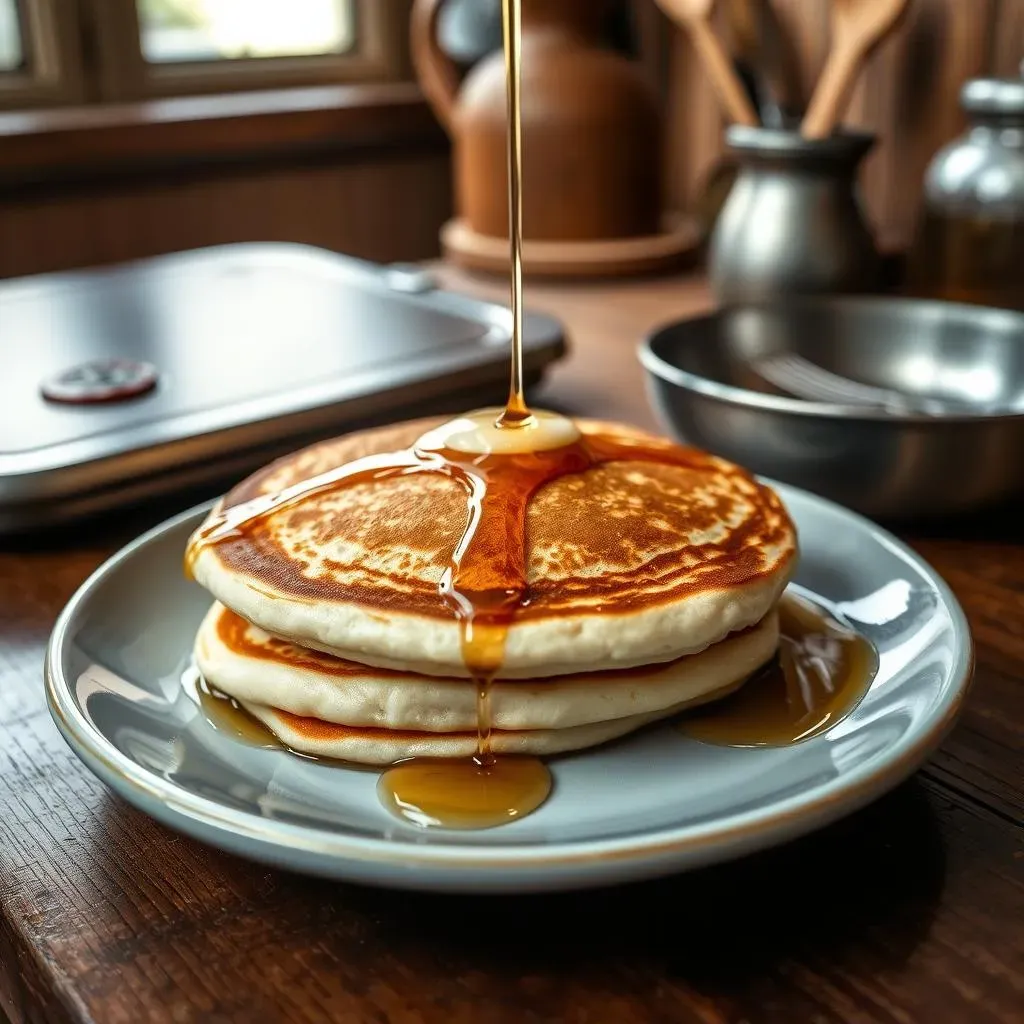
Get Your Pan Ready
Alright, pancake pros, let's get cooking! First things first, you need a good pan or griddle. I prefer a non-stick surface because it makes flipping easier and prevents those dreaded burnt spots. Set it over medium heat; you don't want it too hot or your pancakes will burn on the outside and be raw in the middle. It's like Goldilocks, you want it just right. If you are using a griddle, you can find more information in our article pancakes with a griddle. Now, add a little bit of melted butter or oil to the pan. Just enough to coat the bottom, not so much that your pancakes are swimming in it. A little bit of fat helps create that lovely golden-brown color and prevents sticking.
You'll know the pan is ready when a drop of water sizzles and evaporates quickly. If it just sits there, your pan is not hot enough. If it sizzles too aggressively, your pan is too hot. You can also add a small drop of the batter to test if the pan is at the correct temperature, it should cook slowly. You can also use oil instead of butter, and you can find more information about it in this pancakes with oil recipe.
Step | Description |
|---|---|
1 | Heat pan or griddle over medium heat. |
2 | Add a little bit of melted butter or oil. |
3 | Test the pan temperature with a drop of water or batter. |
Pouring the Batter
Now for the fun part, pouring the batter! Use a ¼ cup measuring cup to scoop the batter onto the hot pan. This helps to keep your pancakes the same size, you know, for the aesthetic. Pour the batter slowly and gently, letting it spread out on its own. Don't try to make it a perfect circle; let the batter do its thing. Remember, we are going for rustic charm here, not a perfectly symmetrical pancake competition. Once the batter is in the pan, don't move it or touch it. Let it cook undisturbed until it's ready to flip. Patience is key here, my friend.
While you're waiting for the pancakes to cook, you can already think about what kind of toppings you'll be using. If you want more inspiration, check out this pancakes with different toppings article. Also, make sure you have enough batter, especially if you are making for a crowd. If you are, this pancakes for a crowd recipe might be helpful.
"Patience is a virtue, especially when making pancakes." - My grandma
Flipping Like a Pro
Okay, it's time to flip those babies! You'll know it's time when bubbles start to form on the surface of the pancake and the edges look set, about 2-3 minutes. Use a thin spatula to gently slide under the pancake. Don't be shy, but be gentle. If the pancake sticks, it's not ready. Give it another minute or so. Once you have your spatula under the pancake, flip it over with a smooth, confident motion. If you are not too confident, just flip it slowly. It is better to flip it slowly than to have it fall apart in the pan. The second side should cook for about 1-2 minutes, or until golden brown.
Once the pancakes are cooked, transfer them to a plate, and make sure that you do not stack them on top of each other too much, because the steam will make them soggy. Serve immediately with your favorite toppings, such as maple syrup. If you want to know more about pancakes with maple syrup, feel free to check out our article about that.
- Bubbles form on the surface.
- Edges look set.
- Bottom is golden brown.
Serving and Storing Your Fluffy Creations
Serving and Storing Your Fluffy Creations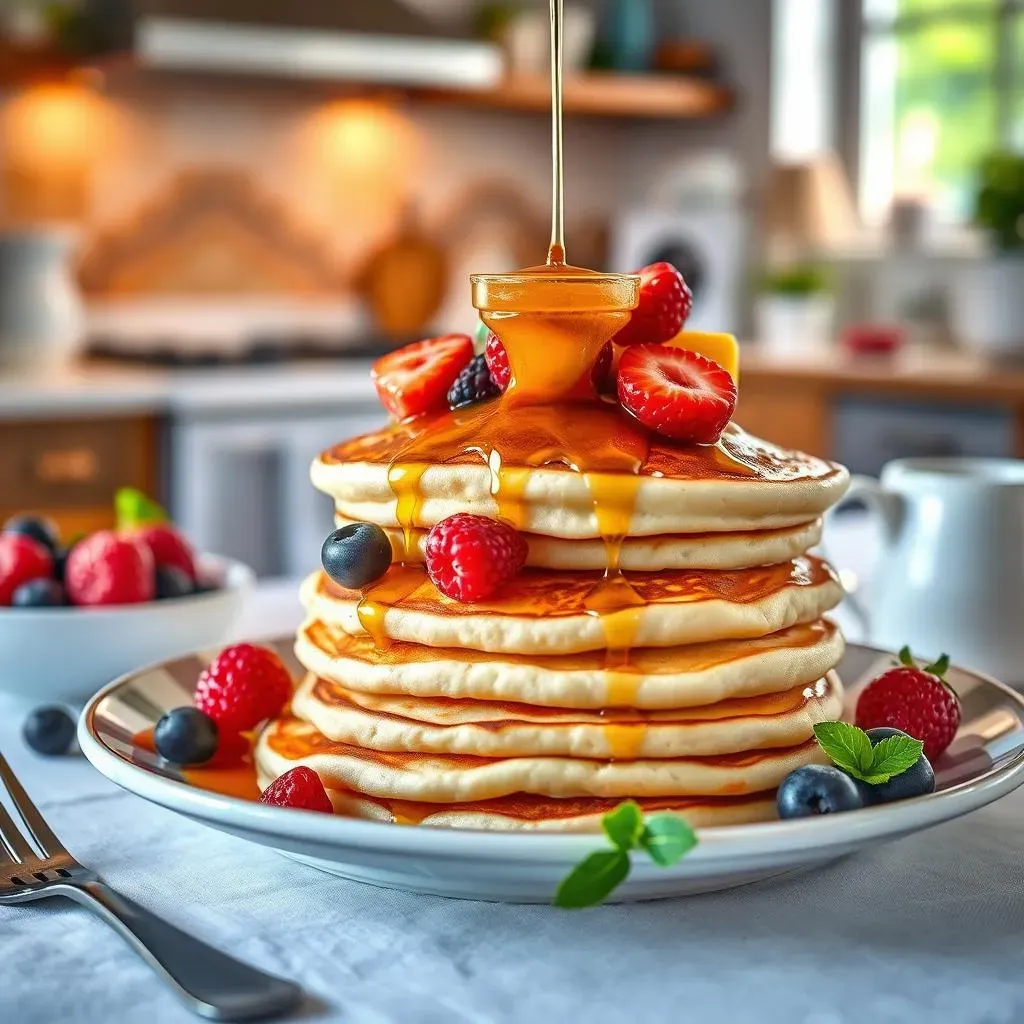
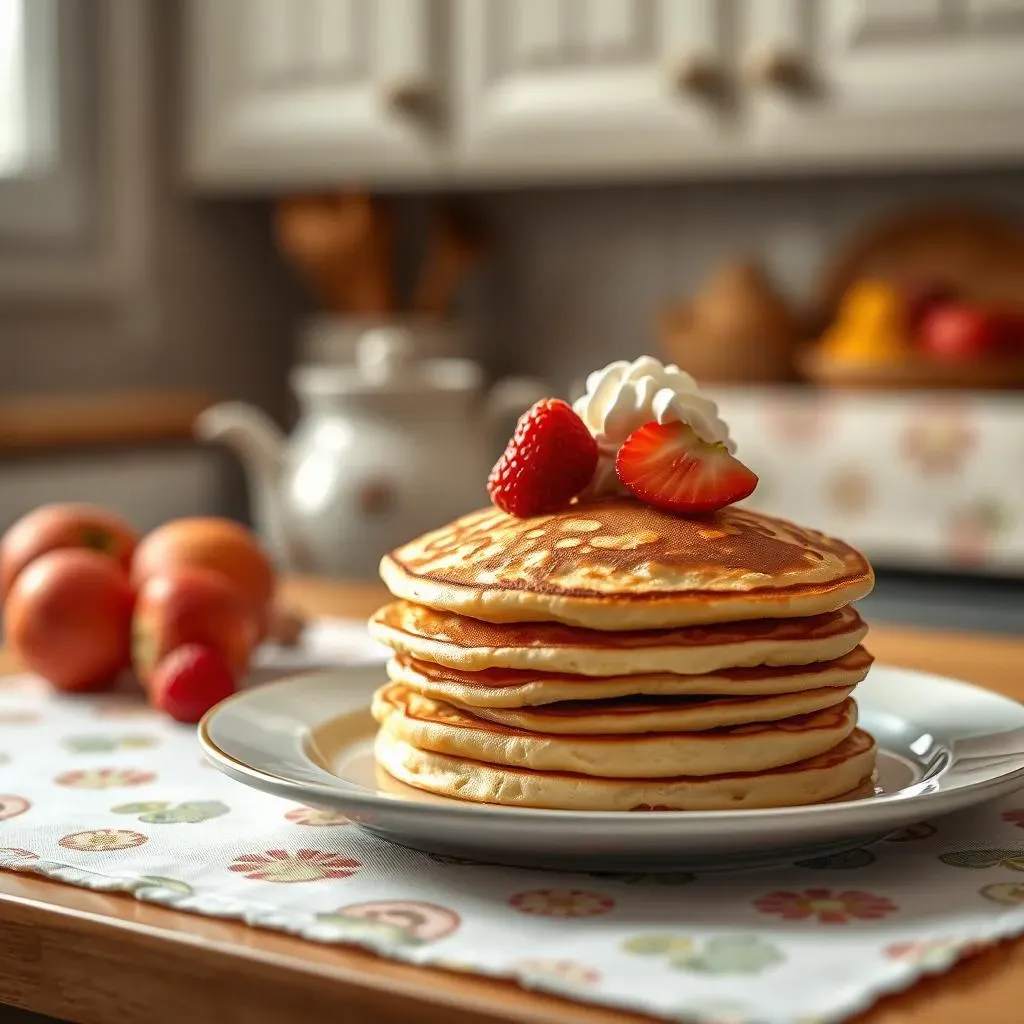
Alright, you've made a stack of beautiful, fluffy pancakes – congrats! Now, let’s talk about serving and storing these beauties. First off, serving is where you get to be creative. A classic stack with butter and maple syrup is always a winner, but don't be afraid to experiment! Fresh berries, whipped cream, chocolate chips, a drizzle of honey – the possibilities are endless. If you want more ideas, check out our pancakes with different toppings article. And if you’re feeling fancy, you can even turn your pancakes into a brunch masterpiece; you might like our pancakes for brunch recipe.
Now, what if you have some leftover pancakes? Don't worry, they are easy to store. You can keep them in the fridge for about a week. Just let them cool completely and then put them in an airtight container or a zip-top bag. And if you want to keep them for longer, you can freeze them. I like to put a piece of parchment paper between each pancake so they don’t stick together, and then put them in a freezer bag. They’ll keep in the freezer for up to three months. When you are ready to eat them, just pop them in the toaster, microwave, or a warm pan. They'll taste just as good as the day you made them! If you have some leftover batter, you can put it in the fridge for 2 days or in the freezer for one month.
Storage Method | Duration |
|---|---|
Fridge (cooked pancakes) | Up to 1 week |
Freezer (cooked pancakes) | Up to 3 months |
Fridge (batter) | Up to 2 days |
Freezer (batter) | Up to 1 month |
Pancake Perfection Achieved!
So, there you have it – your journey to becoming a pancake pro is complete! You’ve learned that the best classic pancake recipe for beginners isn't about complex steps or secret ingredients. It's about understanding the basics, and now you’ve got them down. From gathering simple ingredients to mixing them just so, and cooking your pancakes to a perfect golden brown, you've mastered the fundamentals. Whether you're making a stack for yourself or sharing with friends and family, these pancakes are sure to bring smiles. Remember, practice makes perfect, so don't be afraid to keep experimenting and having fun in the kitchen. Now, go forth and flip those pancakes with confidence, and don’t forget the syrup!