Table of Contents
Ever dreamt of effortlessly whipping up a stack of light and fluffy pancakes? Well, stop dreaming and start flipping! The secret isn't some fancy chef technique, it's all in the flour. We're talking about a classic pancake recipe with self-rising flour, the superhero ingredient that eliminates the need for baking powder or soda. This isn't just another pancake recipe; it's a game-changer for those mornings when you crave a quick and delicious breakfast. We'll walk through the super simple list of ingredients, from the mixing bowl to the griddle, making sure you get those golden, airy discs every single time. And if you're feeling adventurous, we'll explore some fun variations and substitutions, because who wants boring pancakes? Plus, we'll even tackle how to store any leftovers (if there are any!). So, get your whisk ready, and let’s get started on mastering this classic pancake recipe with self-rising flour. You are about to become a pancake pro!
The Magic of SelfRising Flour
The Magic of SelfRising Flour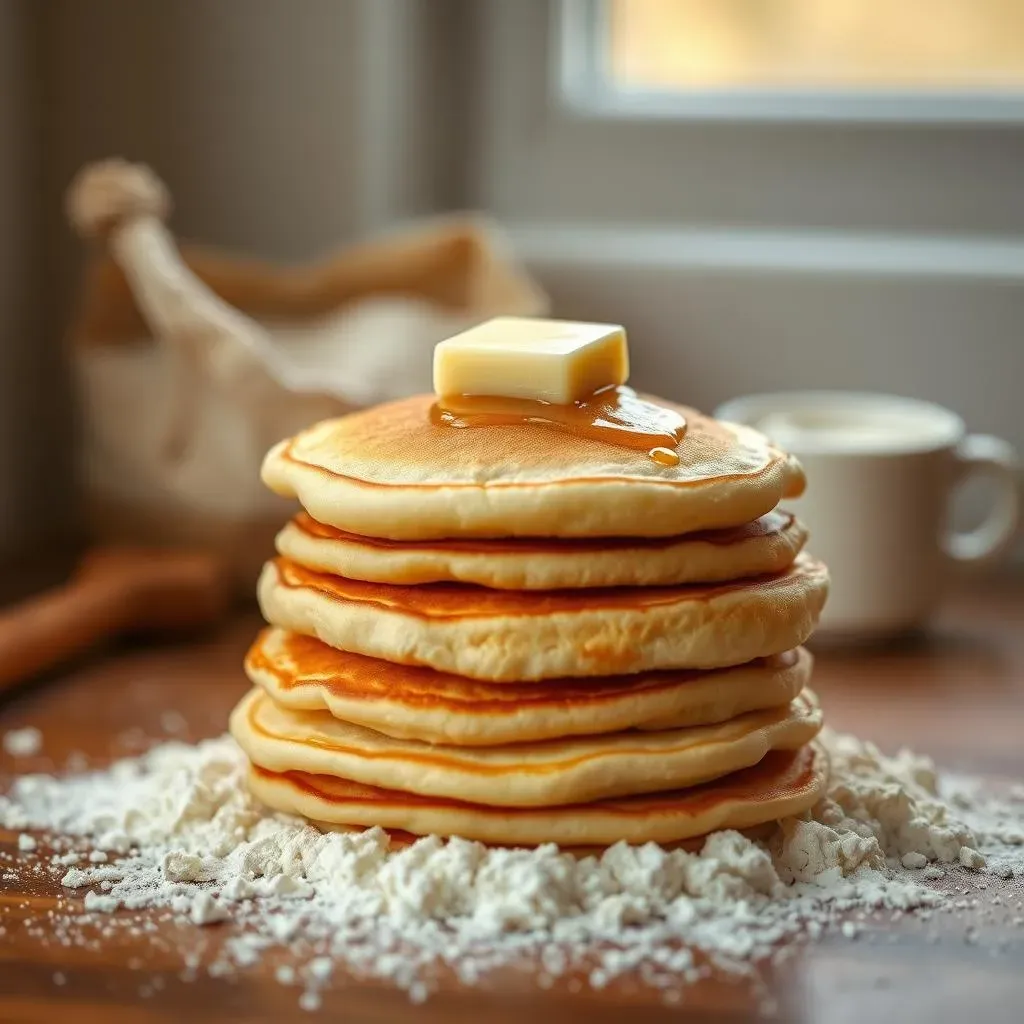
Okay, so you're diving into the world of pancakes, and you've stumbled upon self-rising flour? Let me tell you, it's a total game-changer. Forget juggling baking powder, baking soda, and salt – self-rising flour has it all pre-mixed! It's like a superhero in a bag, ready to make your pancakes light and fluffy with minimal effort. This stuff isn't just convenient; it's the secret weapon for consistently great pancakes. It's the difference between a dense, heavy disc and a cloud-like dream.
Think of it like this: regular flour is the baseline, but self-rising flour is the upgraded version, specifically designed for baking magic. It’s already got the leavening agents mixed in, which means less measuring and more time for enjoying breakfast. It's honestly one of the reasons this recipe is so great for beginners. If you are just starting to learn how to make pancakes check out this classic pancake recipe for beginners, it will help you understand the basics.
Simple Ingredients for Fluffy Pancakes
Simple Ingredients for Fluffy Pancakes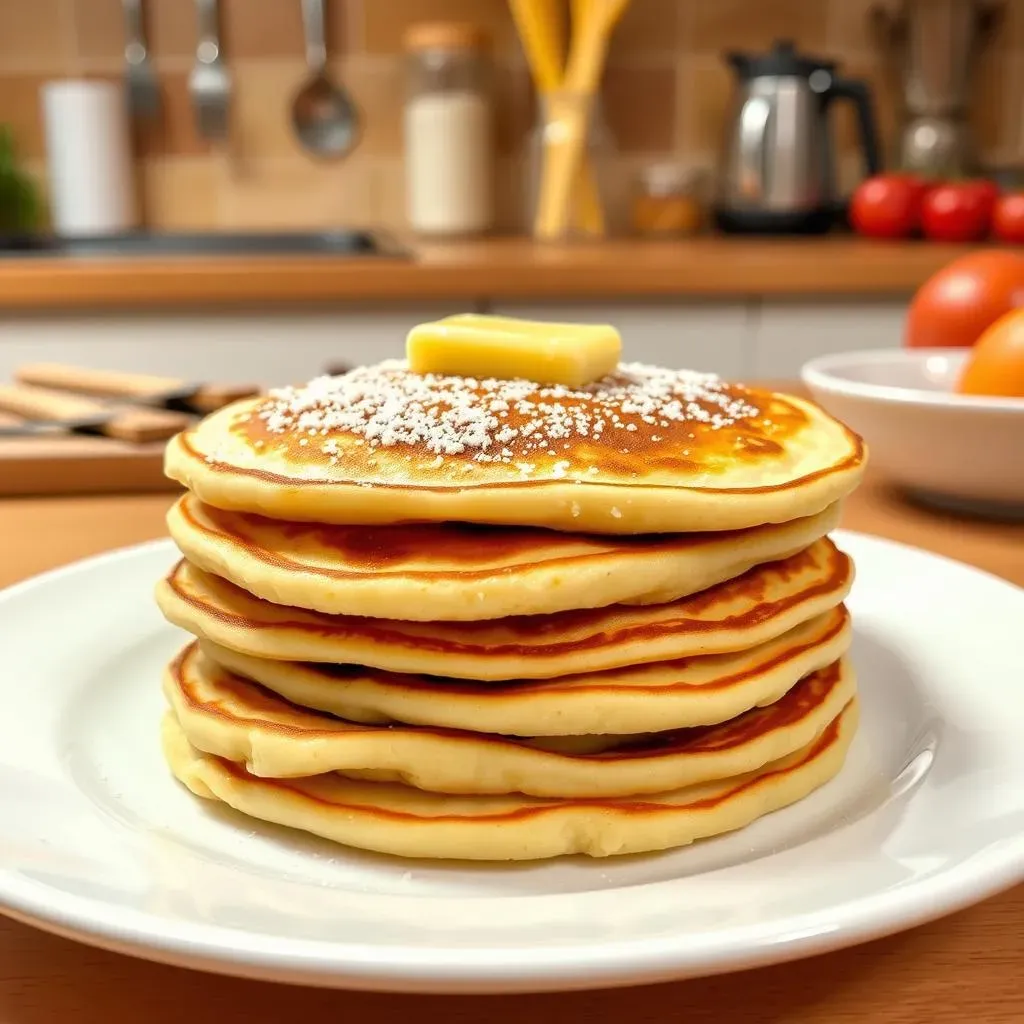
The Core Five
Alright, let's talk about the superstars of this recipe: the ingredients! We're not talking about a laundry list of stuff; it's just five simple things. First, and most importantly, is the self-rising flour, the foundation of our fluffy dreams. Then, we need a touch of sugar for that hint of sweetness. Next up, milk, to bring it all together. An egg is essential for binding and richness. And finally, melted butter, because who doesn't love a bit of buttery goodness? These five ingredients are all you need to create pancake perfection.
Each component plays a crucial role. The self-rising flour is your leavening agent, the sugar adds flavor, the milk moistens the batter, the egg provides structure, and the melted butter adds that luxurious touch. Seriously, it is that simple. If you are looking for more simple recipes for breakfast, you can check out this classic pancake recipe with simple ingredients
Ingredient Breakdown
Let's break down each ingredient a bit further. The self-rising flour, as we discussed, is a mix of flour, baking powder, and salt, saving you a step. For the sugar, regular granulated sugar works just fine. As for milk, any kind will do, but whole milk adds a bit more richness, you can use milk alternatives if you need to. A large egg is best, and you'll want to melt the butter before adding it to the batter. Don’t use cold butter, that may cause some undesired texture. The key here is to have everything measured out before you start mixing.
Having your ingredients ready makes the process smooth and quick. It means you can focus on the fun part – cooking those pancakes! If you are looking to make pancakes for your kids, this easy classic pancake recipe for kids is another great option, and it is also pretty simple.
The Power of Simple
You might be thinking, "Is that all?" And yes, it really is! Sometimes, the most delicious things come from the simplest of recipes. This classic pancake recipe with self-rising flour proves that. It's about using the right ingredients and not overcomplicating the process. The beauty of this recipe is its simplicity and how easily you can adjust it to your taste.
So, no need for a huge list of ingredients or complicated steps. The key is the self-rising flour and the balance of the other ingredients. If you want to compare this recipe with another one, check out this classic buttermilk pancake recipe comparison to see the differences.
Ingredient | Purpose |
|---|---|
Self-Rising Flour | Main Structure, Leavening |
Sugar | Sweetness |
Milk | Moisture |
Egg | Binding, Richness |
Melted Butter | Flavor, Tenderness |
StepbyStep: Making the Perfect Pancakes
StepbyStep: Making the Perfect Pancakes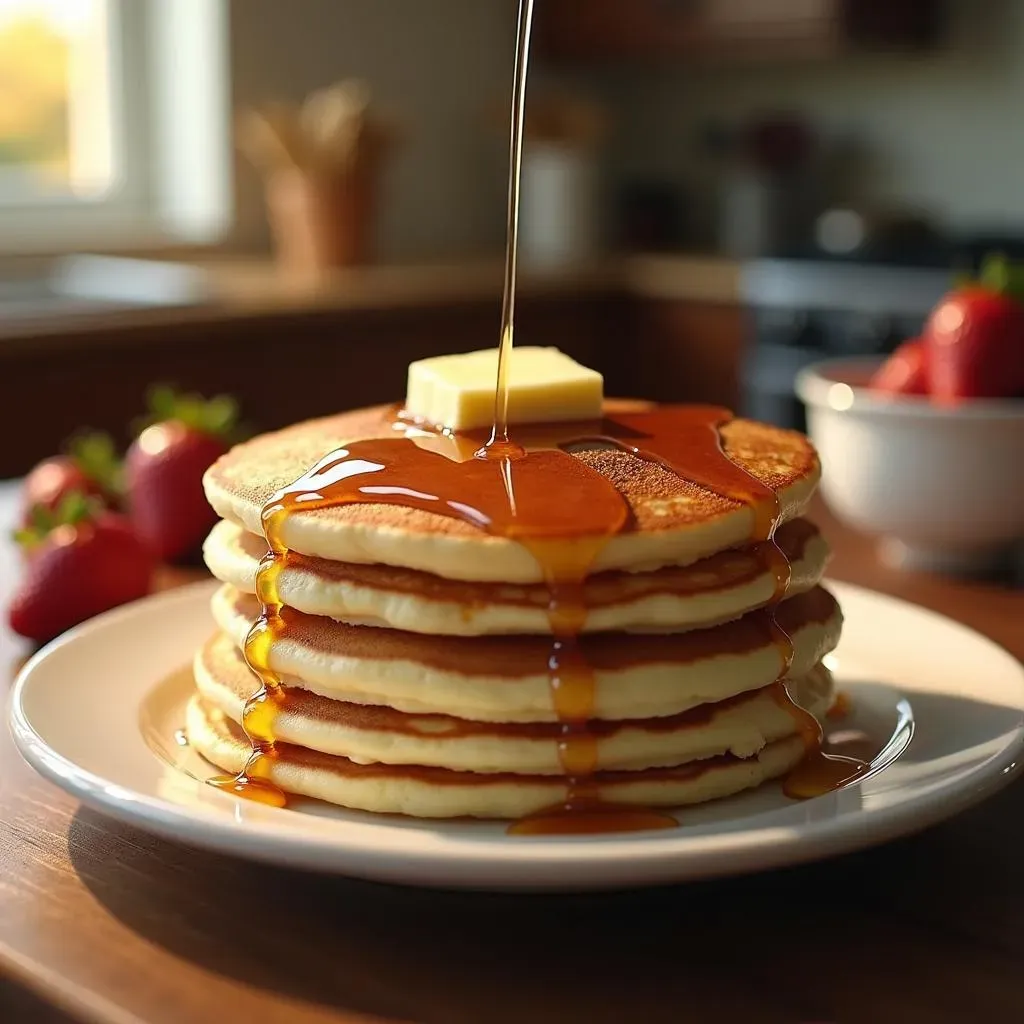
Okay, so you've got your ingredients ready, now it's time to make some magic happen. First, in a large bowl, whisk together the self-rising flour and sugar. Then, in a separate bowl, whisk the milk, egg, and melted butter until they are well combined. Gently pour the wet ingredients into the dry ingredients, and with a spatula, mix until just combined. Don’t overmix it, a few lumps are perfectly fine. Overmixing will develop the gluten and make your pancakes tough, not what we're going for at all. If you are looking to make the batter for a large group, you can check out this classic pancake recipe for a crowd for tips.
Next, heat a lightly oiled griddle or frying pan over medium heat. A non-stick pan is your best friend here. Once it's hot, pour about 1/4 cup of batter onto the griddle for each pancake. You'll start to see bubbles forming on the surface, that's when you know it is time to flip. Flip them once, and cook until golden brown on the other side. It should only take a minute or two per side. Now you have a stack of fluffy pancakes ready to be devoured. If you don’t have a griddle, this classic pancake recipe using a griddle post can help with that.
Don't worry if your first pancake isn't perfect. It’s often a test pancake. Adjust the heat as needed. If the pancakes are browning too quickly, lower the heat a bit. If they are not browning fast enough, increase the heat. Once you get the hang of it, you will be a pancake flipping master in no time. Remember, the goal is golden brown and fluffy, if you are struggling with that, then this classic pancake recipe troubleshooting guide may help.
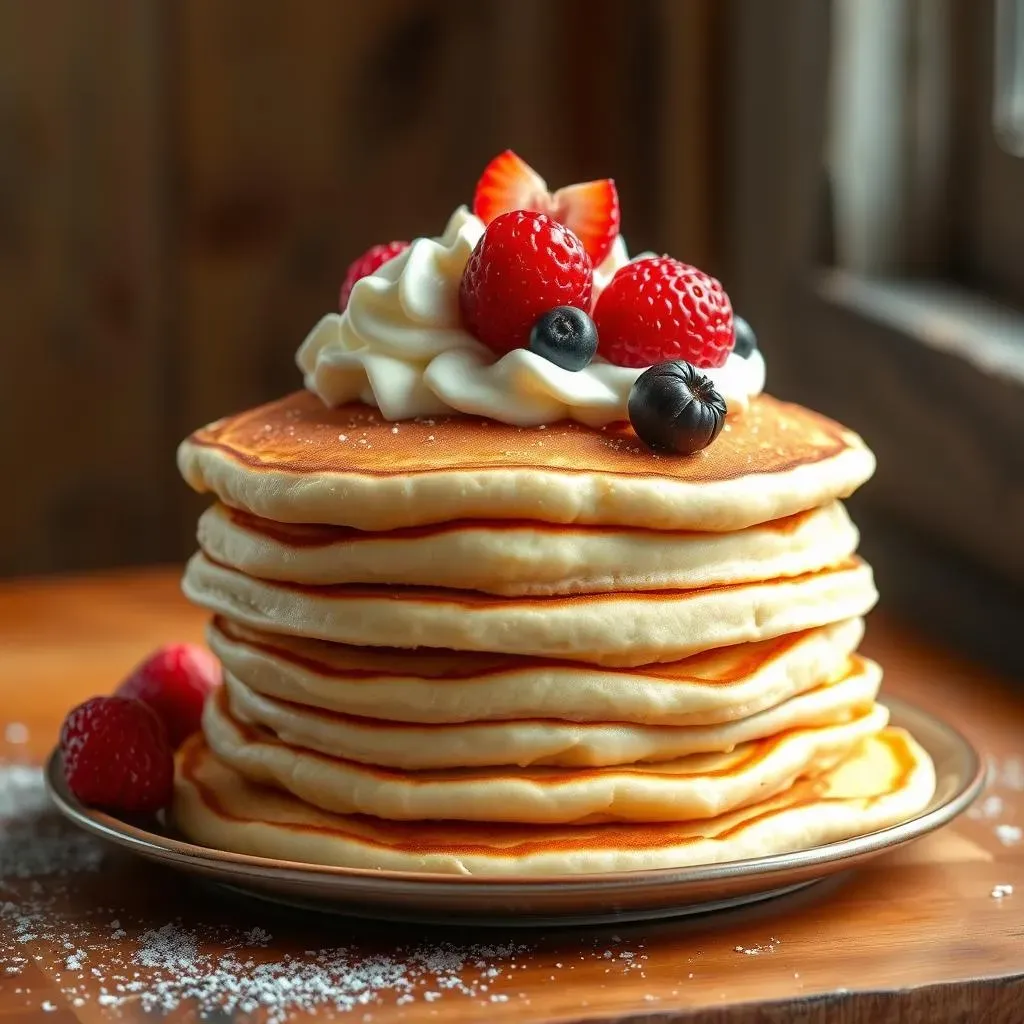
Serve them up immediately, with your favorite toppings. Maple syrup, butter, fresh fruit, whipped cream, the options are endless. And that is really all there is to it. You have created a delicious batch of pancakes with minimal effort. If you want to compare the method with other methods, check out this classic pancake recipe from scratch, this may give you some perspective.
Step | Action |
|---|---|
1 | Whisk dry ingredients |
2 | Whisk wet ingredients |
3 | Combine wet and dry, mix gently |
4 | Heat griddle or pan |
5 | Pour batter onto griddle |
6 | Flip when bubbles form |
7 | Cook until golden brown |
8 | Serve and enjoy |
Customize Your Stack: Variations & Swaps
Customize Your Stack: Variations & Swaps
Flavor Boosters
Alright, so you've mastered the basic classic pancake recipe with self-rising flour, but you're ready to take things to the next level? Let's talk flavor! Adding a little something extra to the batter can transform your pancakes into something truly special. Think about adding a teaspoon of vanilla extract for a warm, comforting flavor. Or maybe a pinch of cinnamon or nutmeg for a spicy kick. You can even add a bit of lemon zest for a bright, citrusy note. The options are endless, so don’t be afraid to experiment. You can also use brown sugar instead of white sugar for a richer flavor, if you are interested, check out this classic pancake recipe with brown sugar.
Want to go a little wild? Try adding mini chocolate chips or a handful of blueberries to the batter. These additions not only add flavor but also a nice texture. And if you are feeling fancy, try adding some chopped nuts or even a swirl of peanut butter. It's like creating your own pancake masterpiece! You can use different toppings as well, this classic pancake recipe with different toppings may give you some ideas.
Ingredient Swaps
Now, let's talk about some ingredient swaps. Maybe you're out of milk, no problem. You can easily use milk alternatives like almond milk, soy milk, or oat milk. They all work great and will give your pancakes a slightly different flavor profile. And what about if you don’t have eggs? You can try using flaxseed meal mixed with water as an egg substitute. It works as a binder, although it might change the texture slightly. If you are looking for more alternatives, check out this classic pancake recipe using milk alternatives for more information.
If you want to make your pancakes a bit healthier, you can substitute some of the self-rising flour with whole wheat flour. It will give your pancakes a bit of a nutty flavor and add some extra fiber. Just remember that whole wheat flour might make the pancakes a bit denser, so you might need to add a splash more milk to get the right consistency. If you don’t have self rising flour, and you only have all purpose flour, this classic pancake recipe with all-purpose flour may help.
Swap | Original | Alternative |
|---|---|---|
Milk | Cow's milk | Almond, soy, oat milk |
Egg | Chicken egg | Flaxseed meal + water |
Flour | Self-rising flour | Whole wheat flour (partially) |
Cooking Techniques
Even the way you cook your pancakes can make a difference. If you want to make them extra fluffy, try using a slightly higher heat for a shorter cooking time. This will help the pancakes rise more and will prevent them from getting too dense. Also, if you like crispy edges, try adding a little more butter to the griddle before cooking each batch. If you are using oil, this classic pancake recipe with oil may help.
And finally, don't be afraid to experiment with different toppings. Maple syrup is a classic choice, but try adding fresh fruit, whipped cream, chocolate sauce, or even a sprinkle of powdered sugar. You can also try different syrups, if you are interested, check out this classic pancake recipe with maple syrup. The key is to have fun and make your pancakes exactly how you like them!
Pancake Leftovers? No Problem! Storage Tips
Pancake Leftovers? No Problem! Storage Tips
Okay, so you've made a mountain of fluffy pancakes, and somehow, miraculously, you have leftovers. Don't worry, this isn't a pancake tragedy. Leftovers can be just as good, if not better, the next day. The key is proper storage. You don't want to end up with a soggy mess. If you are looking to make pancakes for one or two people, this classic pancake recipe for one person or classic pancake recipe for two may help, so you don’t have too many leftovers.
For short-term storage, let the pancakes cool completely, then stack them on a plate, separated by pieces of parchment paper or wax paper. This will prevent them from sticking together. Then, cover the plate with plastic wrap or transfer them to an airtight container. You can store them in the fridge for up to 2-3 days. When you want to eat them, just pop them in the toaster or microwave to warm them up. If you are looking for more cooking tips, this classic pancake recipe cooking tips post may help.
For longer storage, freezing is your best bet. Again, make sure the pancakes are completely cool. Then, place them on a baking sheet lined with parchment paper, making sure they're not touching. Put the baking sheet in the freezer for about 30-60 minutes, or until the pancakes are solid. This will prevent them from sticking together when you put them in a freezer bag. Once frozen, transfer them to a freezer-safe bag or container. They can be stored in the freezer for up to 2-3 months. When you are ready to eat them, you can reheat them directly from frozen in the toaster, microwave, or oven. You can also check out this classic pancake recipe for breakfast post for more ideas.
Freezing them individually first prevents them from clumping together, making it easier to grab just the right amount when you want them. And remember, don’t defrost them on the counter, this may cause them to become soggy. Always reheat them from frozen. This will help keep their texture. Also, don't forget to label your freezer bags with the date. This way, you know when you made them. This is a game changer, you will thank me later.
Storage Method | Time | Tips |
|---|---|---|
Refrigerator | 2-3 Days | Cool completely, separate with parchment paper |
Freezer | 2-3 Months | Freeze individually first, then transfer to freezer bag |
Real Talk: Reader Feedback & Troubleshooting
Real Talk: Reader Feedback & Troubleshooting
Alright, let's get real for a minute. Making pancakes is usually pretty straightforward, but sometimes things go a little sideways. I've been there, and I've heard from plenty of you who have had similar experiences. So, let's talk about some of the common issues people run into when making this classic pancake recipe with self-rising flour, and how we can fix them. One common issue is that sometimes, the self-rising flour is not as fresh as you think. If it has been sitting in the pantry for a while, it may not rise as well, and you might end up with flat pancakes. Always check your expiration date, and try to use a fresh bag of self-rising flour. If you don't have self-rising flour, this pancakes without baking powder recipe may be a good fit for you.
Another common problem is overmixing the batter. Remember, we want a light hand when mixing. Overmixing develops the gluten and will lead to tough, chewy pancakes. Mix just until the ingredients are combined, don’t worry about a few lumps, they will cook out. And speaking of batter, sometimes people get confused and end up using all-purpose flour instead of self-rising flour. This will also result in flat pancakes, and you will need to add baking powder or baking soda to get them to rise. If you are struggling with baking powder, then this pancakes with baking soda recipe may be helpful.
Some readers have also mentioned that their pancakes are browning too quickly. This usually means your heat is too high. Lower your heat to medium or medium-low, and give the pancakes more time to cook through before they brown. And if your pancakes are sticking to the griddle, make sure you are using enough butter or oil, a non-stick pan is a must, and don't add the batter until the pan is hot. Also, many have asked if it is ok to use melted butter, and the answer is yes, but if you use cold butter, this may cause some issues. If you are using melted butter, this pancakes with melted butter recipe may be a good reference.
Finally, some readers have asked about adding vanilla extract. Yes, you can definitely add vanilla extract, it will give the pancakes a nice flavor. Also, many have asked about adding sugar, and the answer is yes, but don’t add too much or they will become too sweet. You can also add spices like cinnamon or nutmeg for a warm flavor. If you want to use vanilla extract, this pancakes with vanilla extract recipe will give you a good idea on how much to use.
Problem | Solution |
|---|---|
Flat pancakes | Use fresh self-rising flour, don't substitute with all purpose flour |
Tough pancakes | Mix the batter gently, don't overmix |
Browning too fast | Lower the heat |
Sticking to the griddle | Use enough butter or oil, make sure the pan is hot |
The Final Flip: Your Pancake Mastery
So, there you have it – the classic pancake recipe with self-rising flour, now in your back pocket. You've learned how to harness the power of self-rising flour for that perfect fluffy texture, mastered the basic steps, and even explored ways to make these pancakes your own. Whether you stick to the simple recipe or get creative with mix-ins, remember that the key is in not overmixing and using a preheated pan. Now go forth, make some epic pancakes, and share the joy with friends and family. And remember, even if the first one isn't perfect, that's just an excuse to eat it! Happy flipping!